How to Divide the Inside of your Wardrobe [GUIDE]
Focus on: internal accessories
In this guide, you will find practical ideas on how to plan the inside of your wardrobe before purchasing it. We will look at how to divide the space and create a custom-made arrangement which suits your needs.
The aesthetics of a wardrobe are certainly important, but we often concentrate too heavily on the outside, neglecting the most important part: “the inside”.
Planning the interior layout of your future wardrobe means organising all of your clothes, accessories, shoes and bags. With careful planning, you can find clever solutions for a 4-season wardrobe, without going over budget or size.
In this guide, we will discuss:
Prevention is better than reorganisation
A preliminary plan for the equipment and dividers within a wardrobe helps to prevent you from wasting time and money.
It will also help you to make the most of the available space and to save money on additional accessories such as boxes, drawer dividers, clothes hangers, fabric garment bags, plastic containers etc… which often in themselves become a source of clutter and hoarding. The old phrase “out of sight, out of mind” also applies to boxes: the risk is that we fill them with clothes and accessories which we don’t actually need, and that they occupy your precious storage space!
But here we’re entering into the field of the organisation guru Marie Kondo, while in this guide we won’t talk about decluttering or organising your wardrobe in KonMari’s style.
Here we prefer to focus on prevention and on smart storage solutions for inside your wardrobe, which guarantee an efficient and personalised organisation system.
By optimising the space and installing the right mix of drawers, shelves, dividers and hangers, you will always have your wardrobe under control and in perfect order.
Types of Accessories
Standard equipment usually includes:
● one internal, central shelf attached to the pre-drilled section on each side which allows you to move it around freely
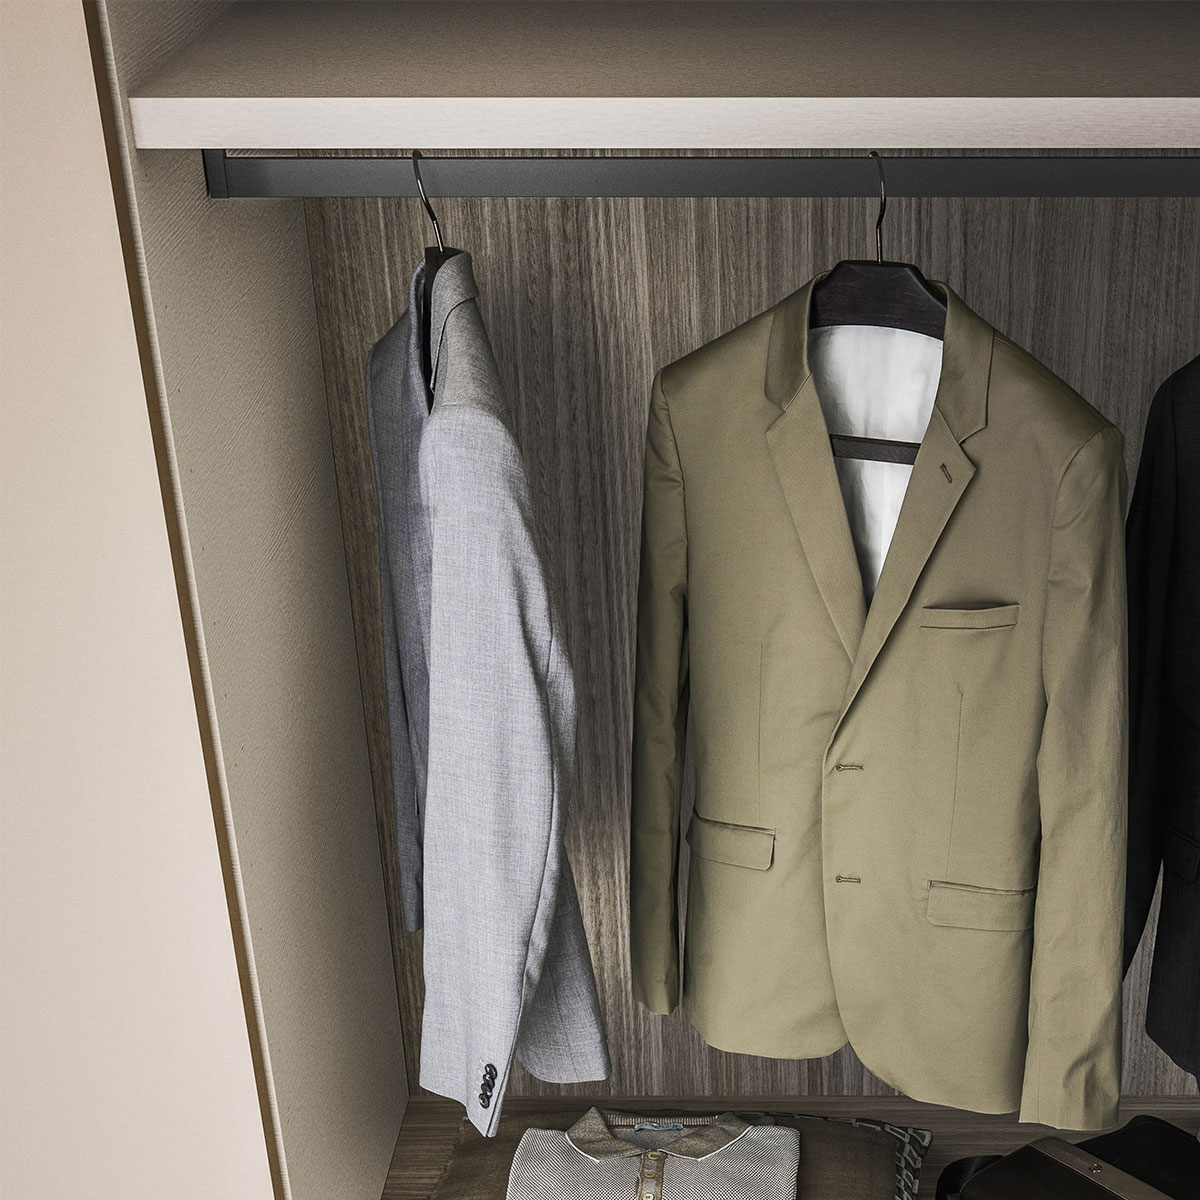
● two clothes rails, one above and one below
Numerous accessories can be added to this basic setup. They also don’t need to be purchased immediately as it is possible to add to them over time, though with the help of a good interior decorator you may be able to identify the perfect layout for your needs from the beginning.
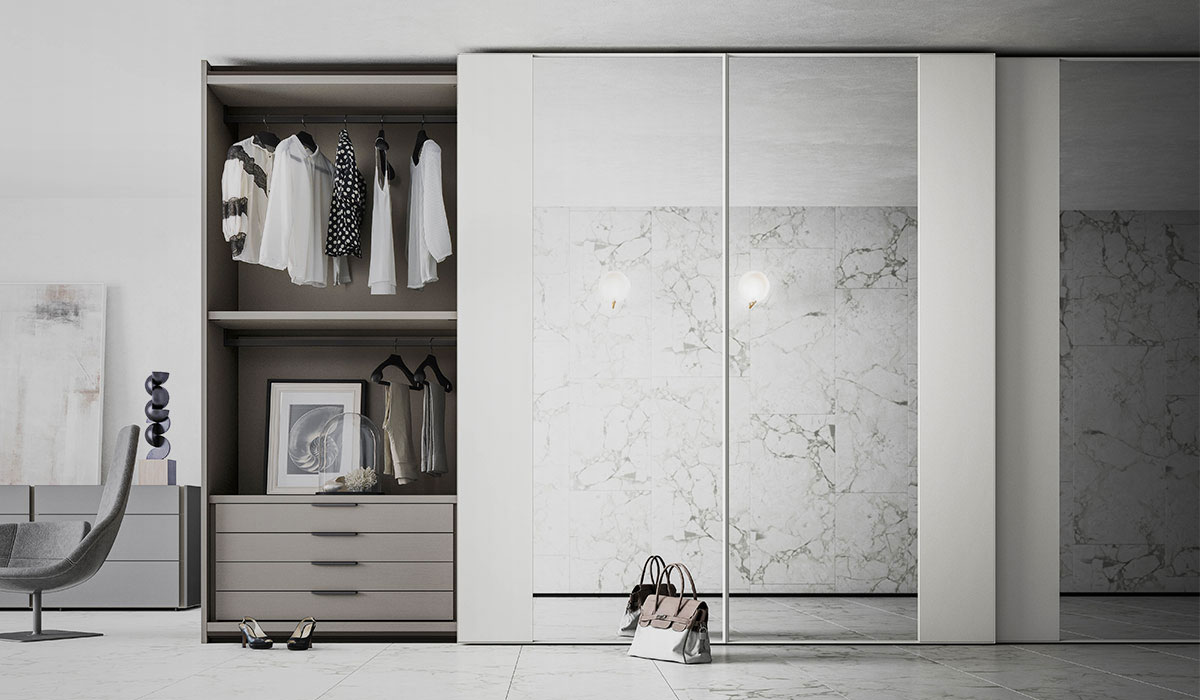
Shelves and Dividers
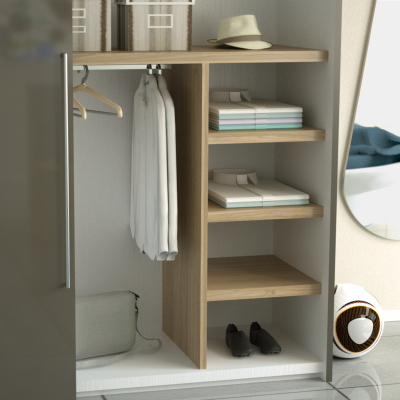
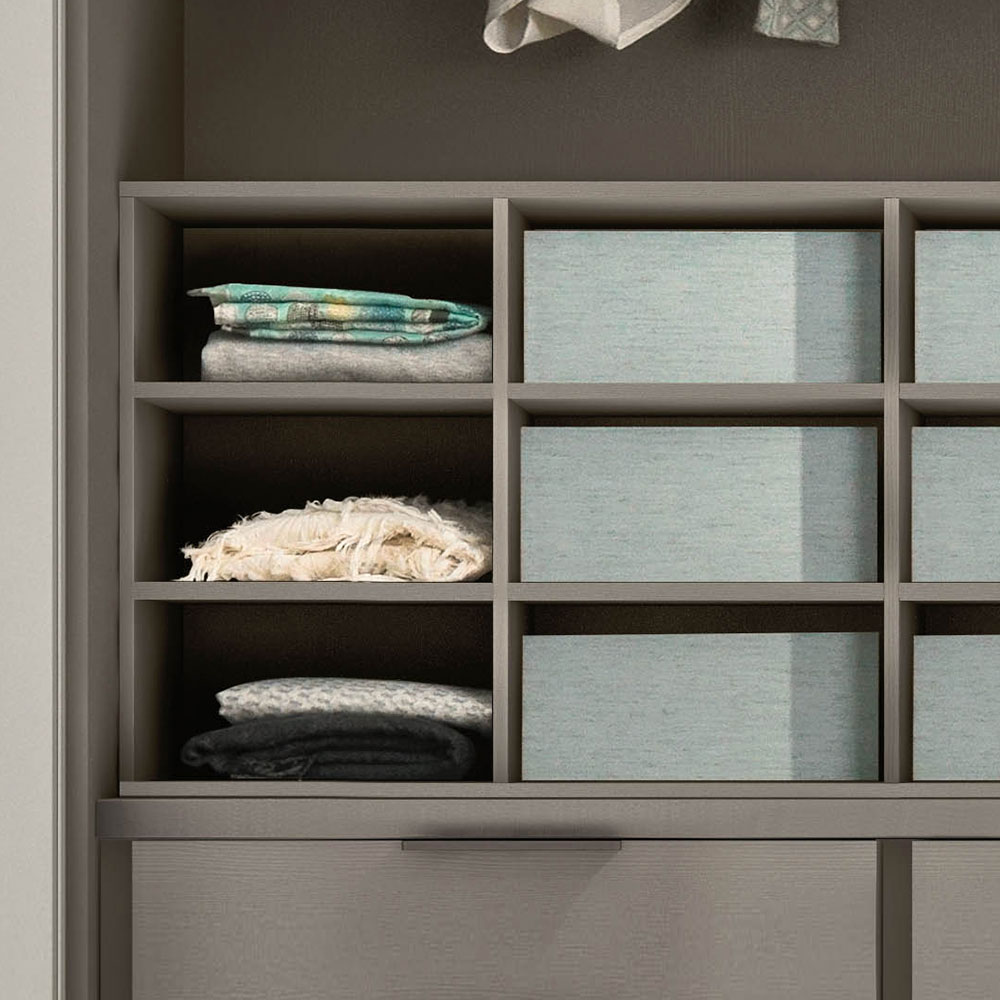
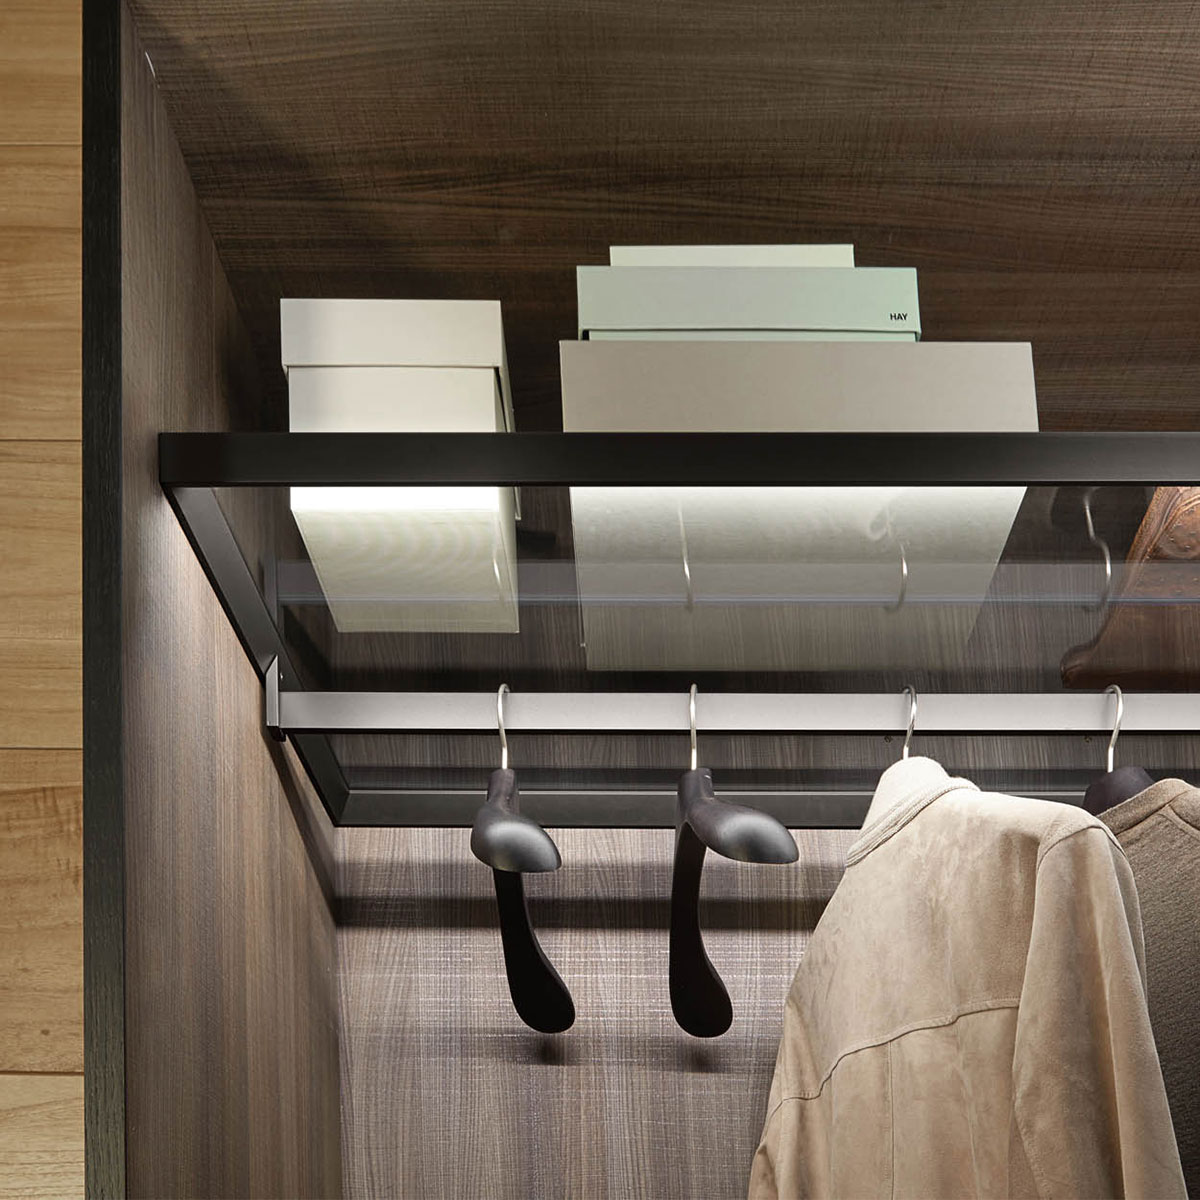
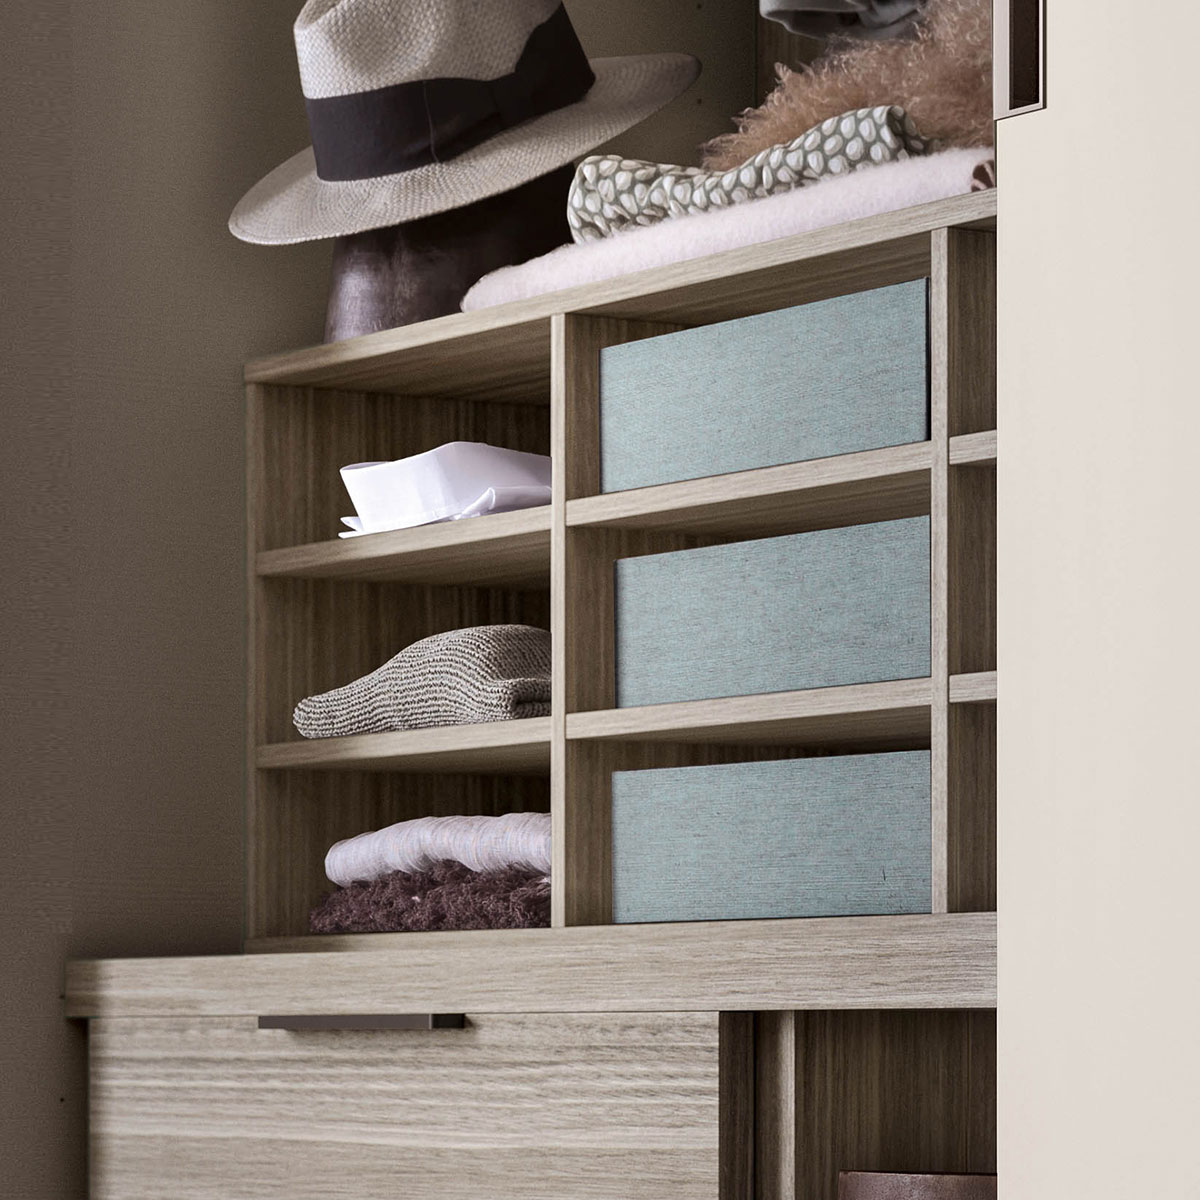
Shelves can be added at any time and can be moved around with ease. They can also be either matching the wardrobe, in a different colour, or in glass.
There are no fixed rules regarding the quantity or positioning of shelves, only that wardrobes with an odd number of doors usually feature shelves in the single column (usually positioned at the end). On the other hand, the other pair of doors usually feature drawers, shirt racks and trouser racks.
The number of shelves will depend on the type of clothes you own (for example: more knitwear or more clothes for hanging up? More long coats and trench coats, or just short sports jackets? etc..). But it also depends on how many other accessories we want to add to the budget. Shelves are certainly the least expensive and most versatile accessory.
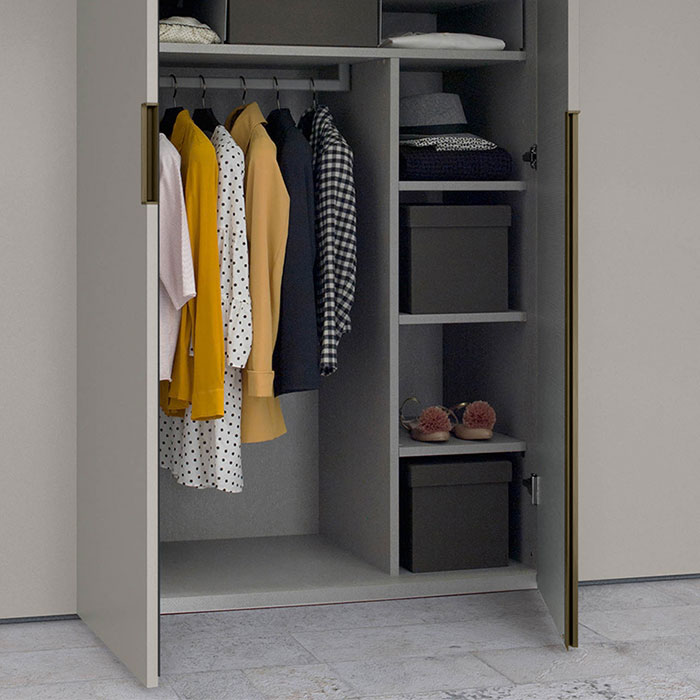
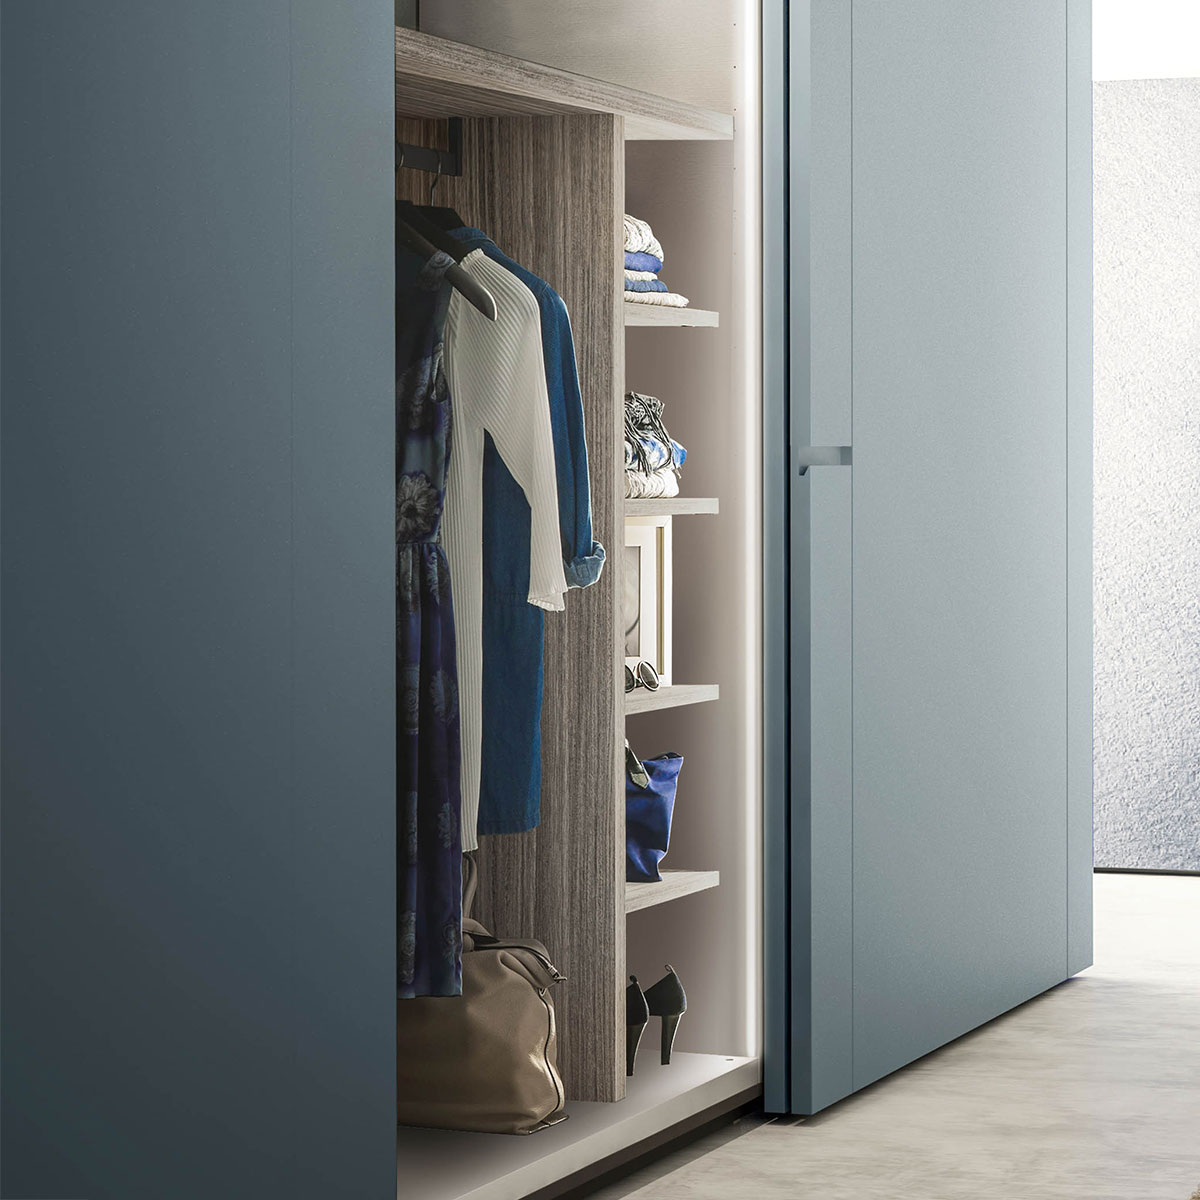
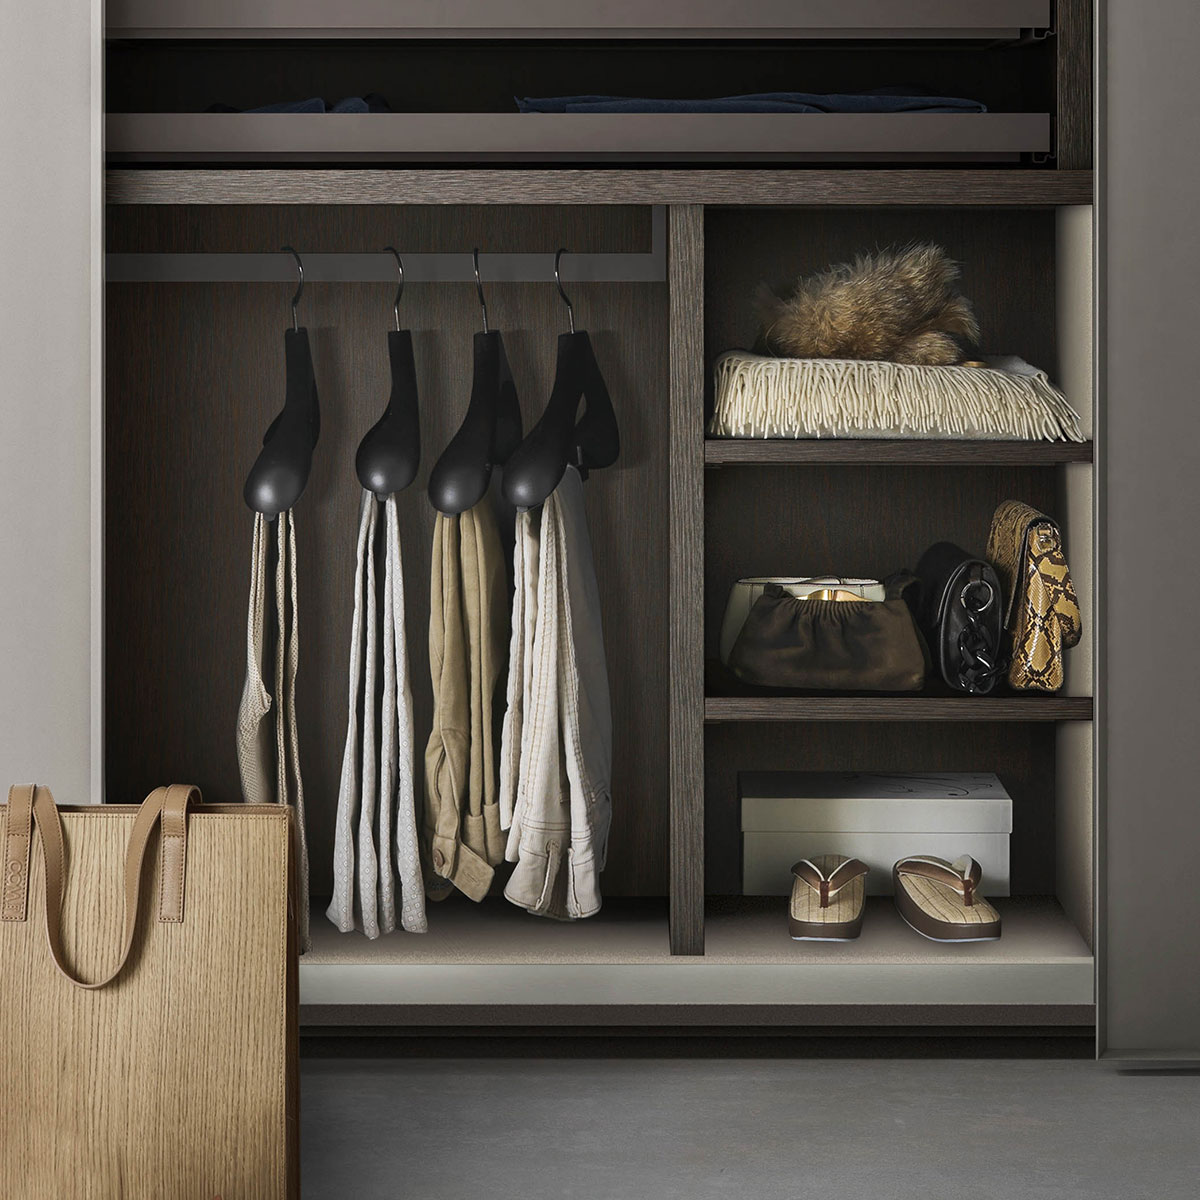
A divider usually consists of a shelf which rests on a vertical panel dividing the lower part of the wardrobe in two: an clothes rail area on one side and two or three shelves on the other.
Internal Drawer Units
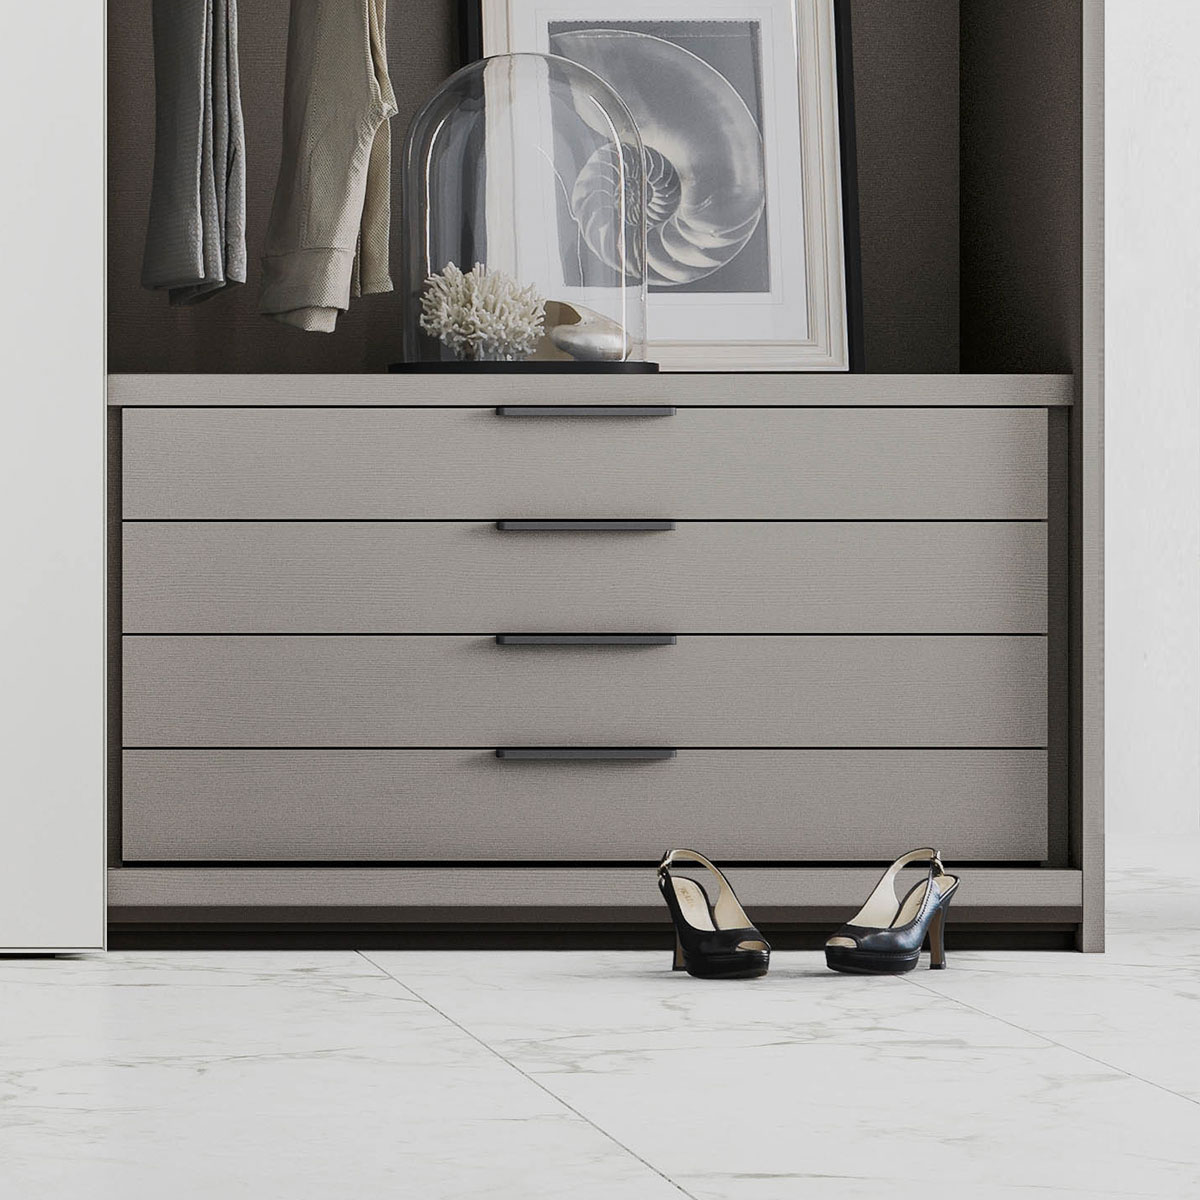
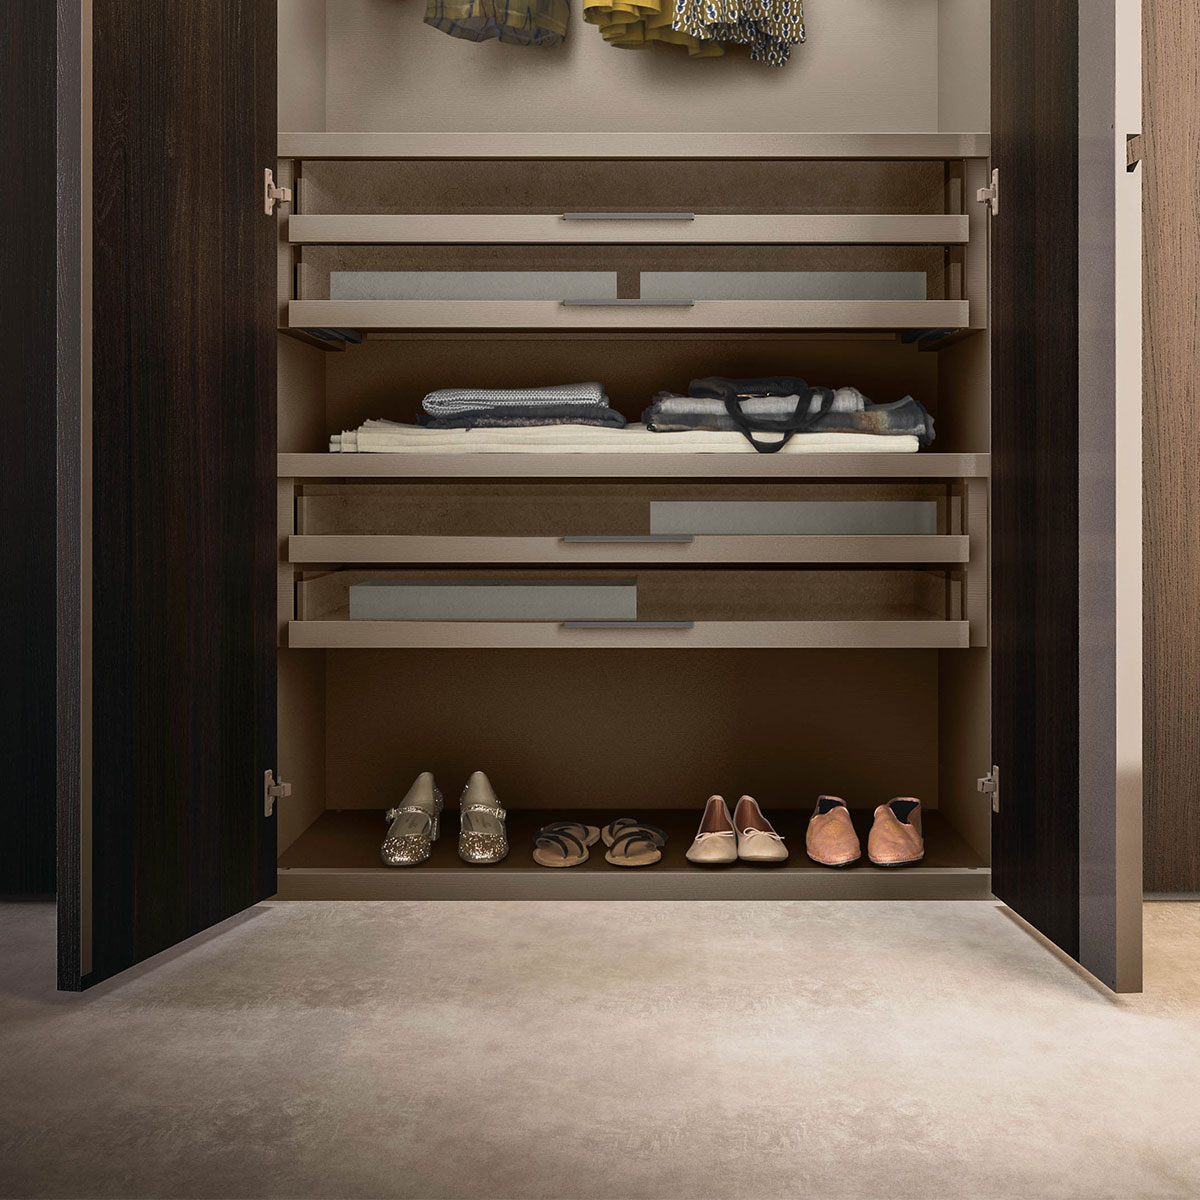
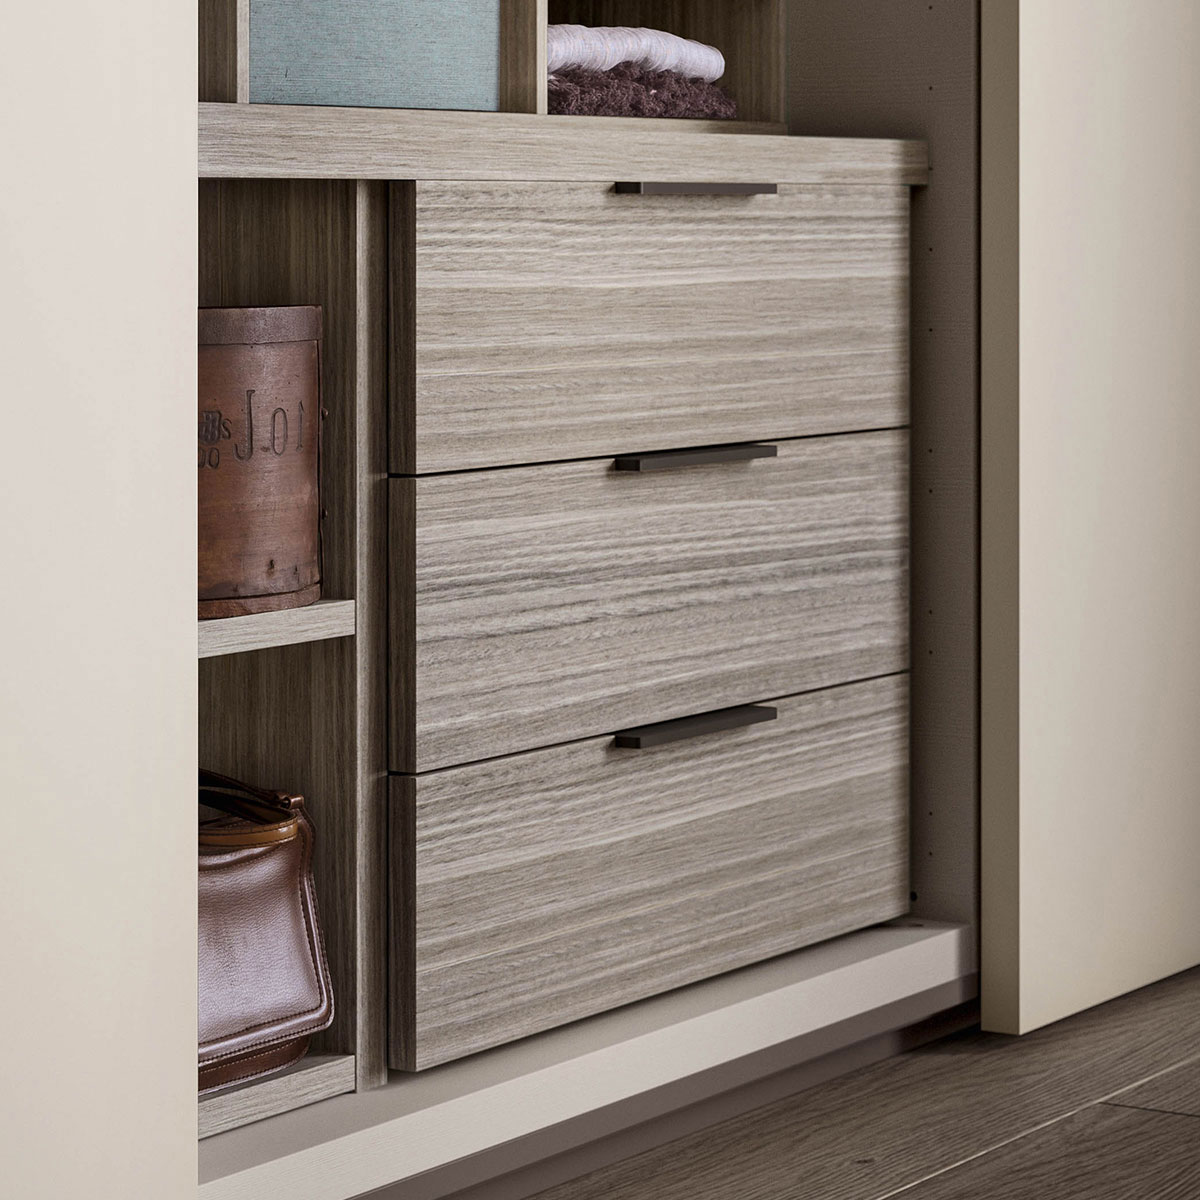
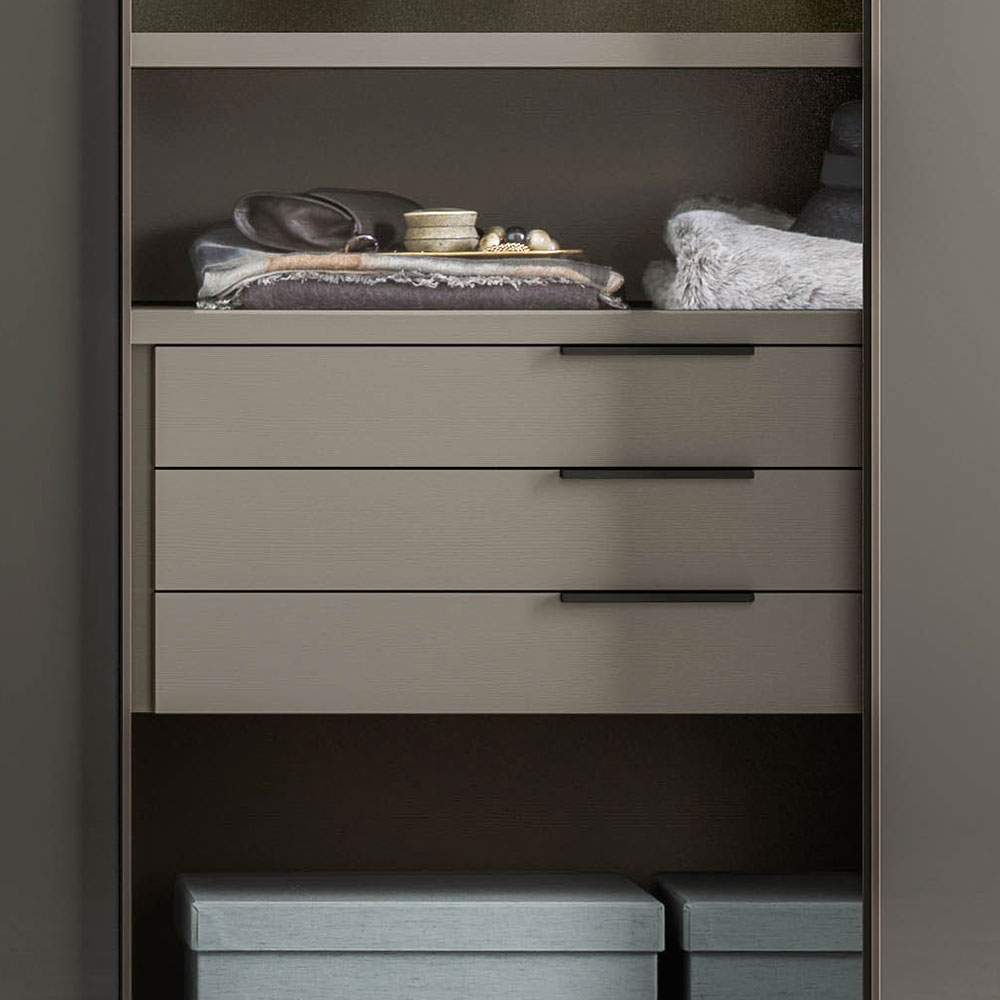
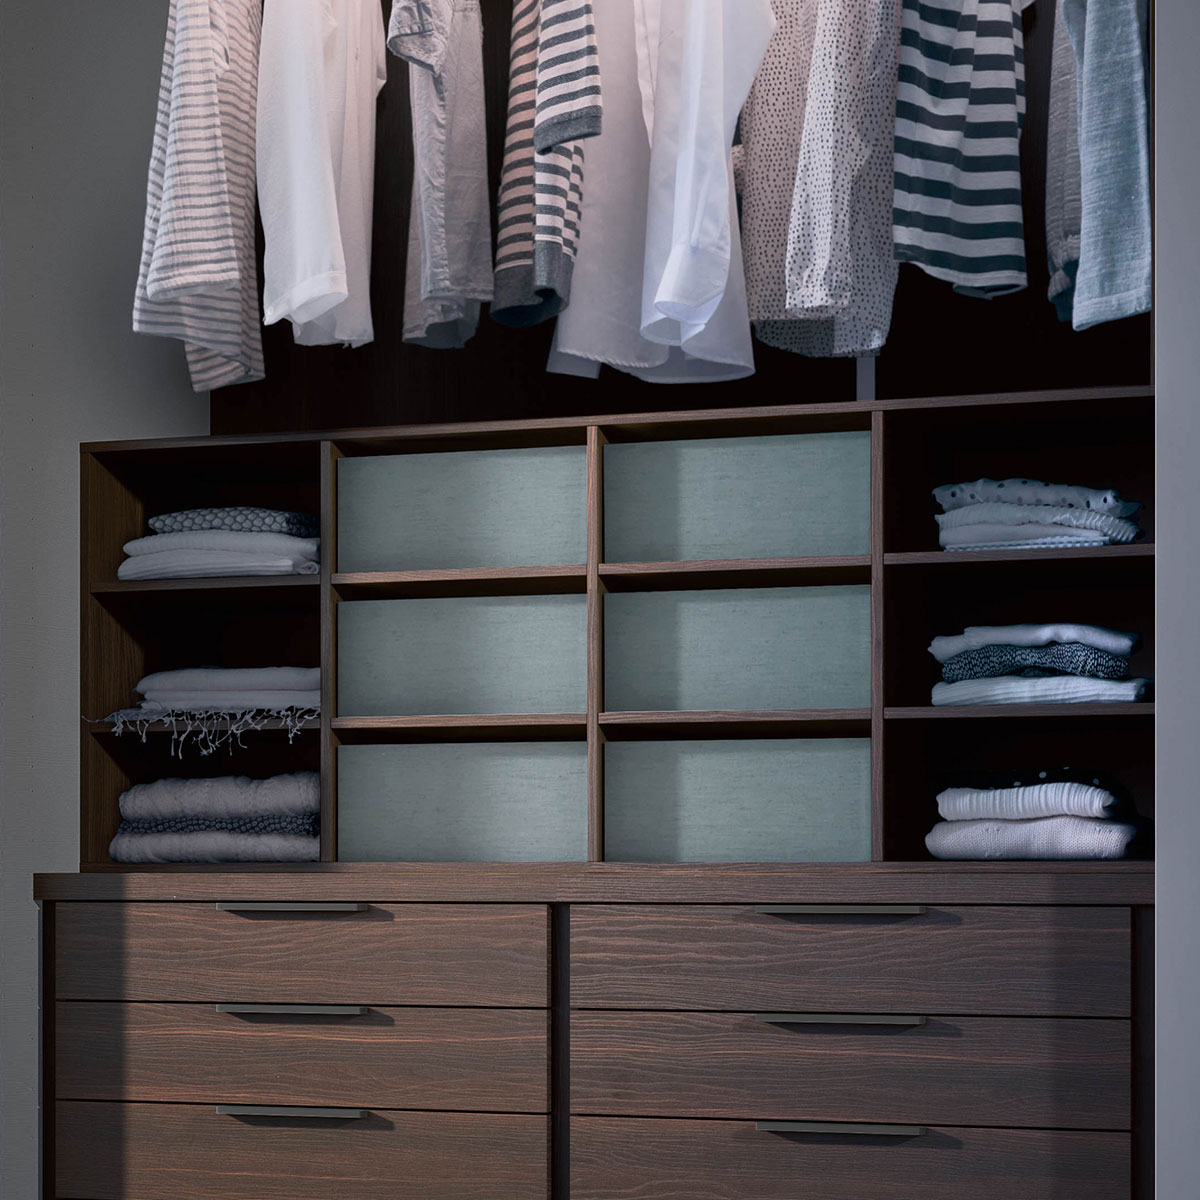
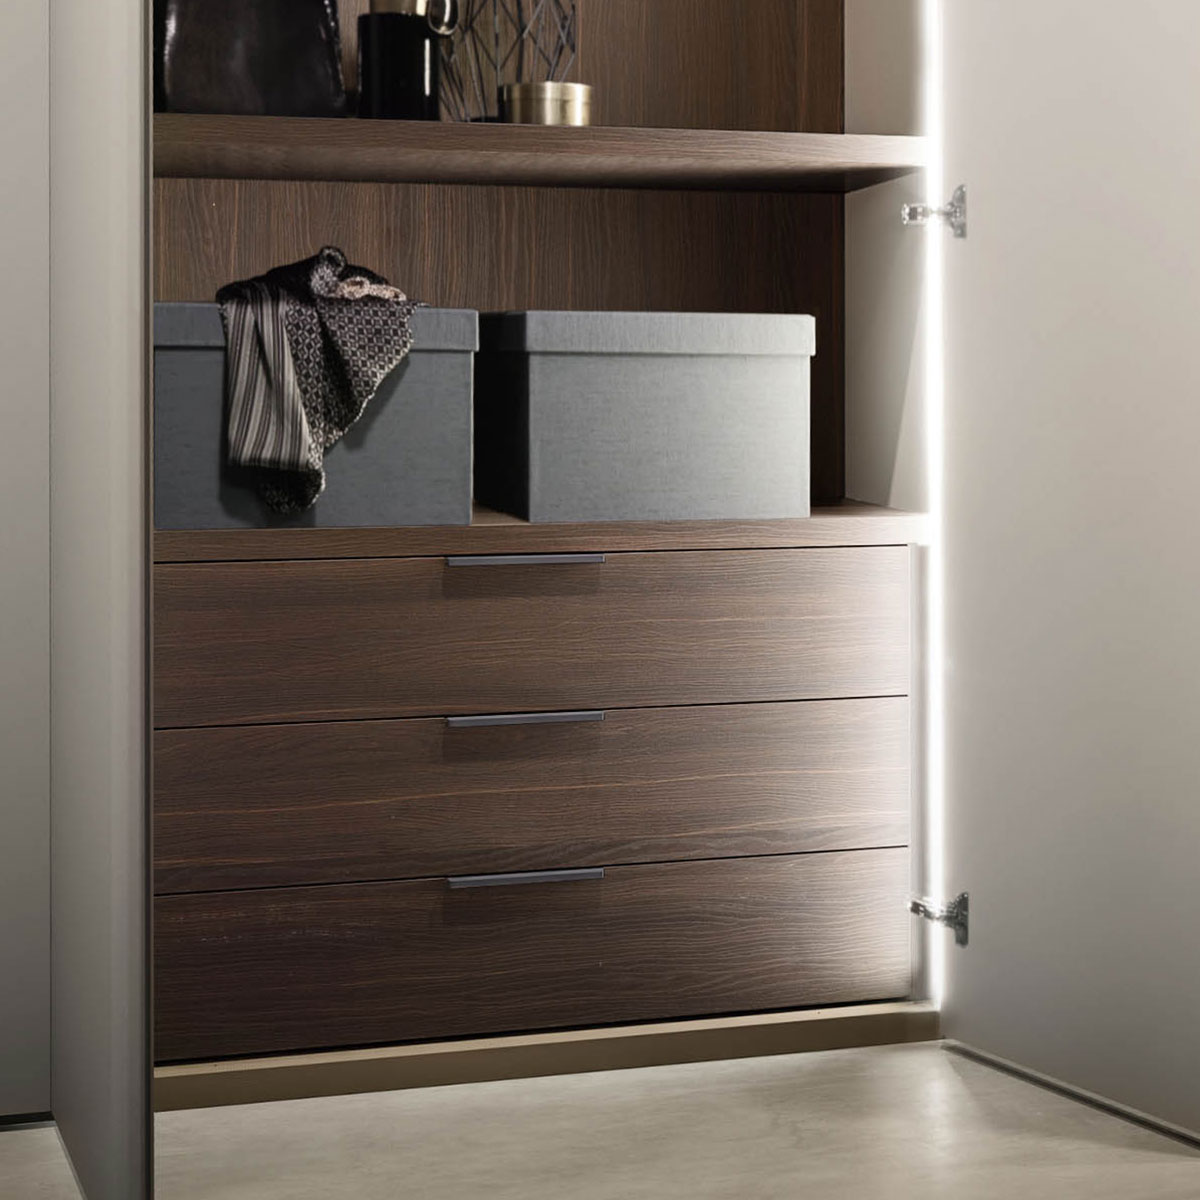
A set of drawers integrated into the body of the wardrobe is ideal for organising underwear, socks and accessories. It is also the perfect solution for anyone who doesn’t have space in their bedroom for a separate, free-standing chest of drawers.
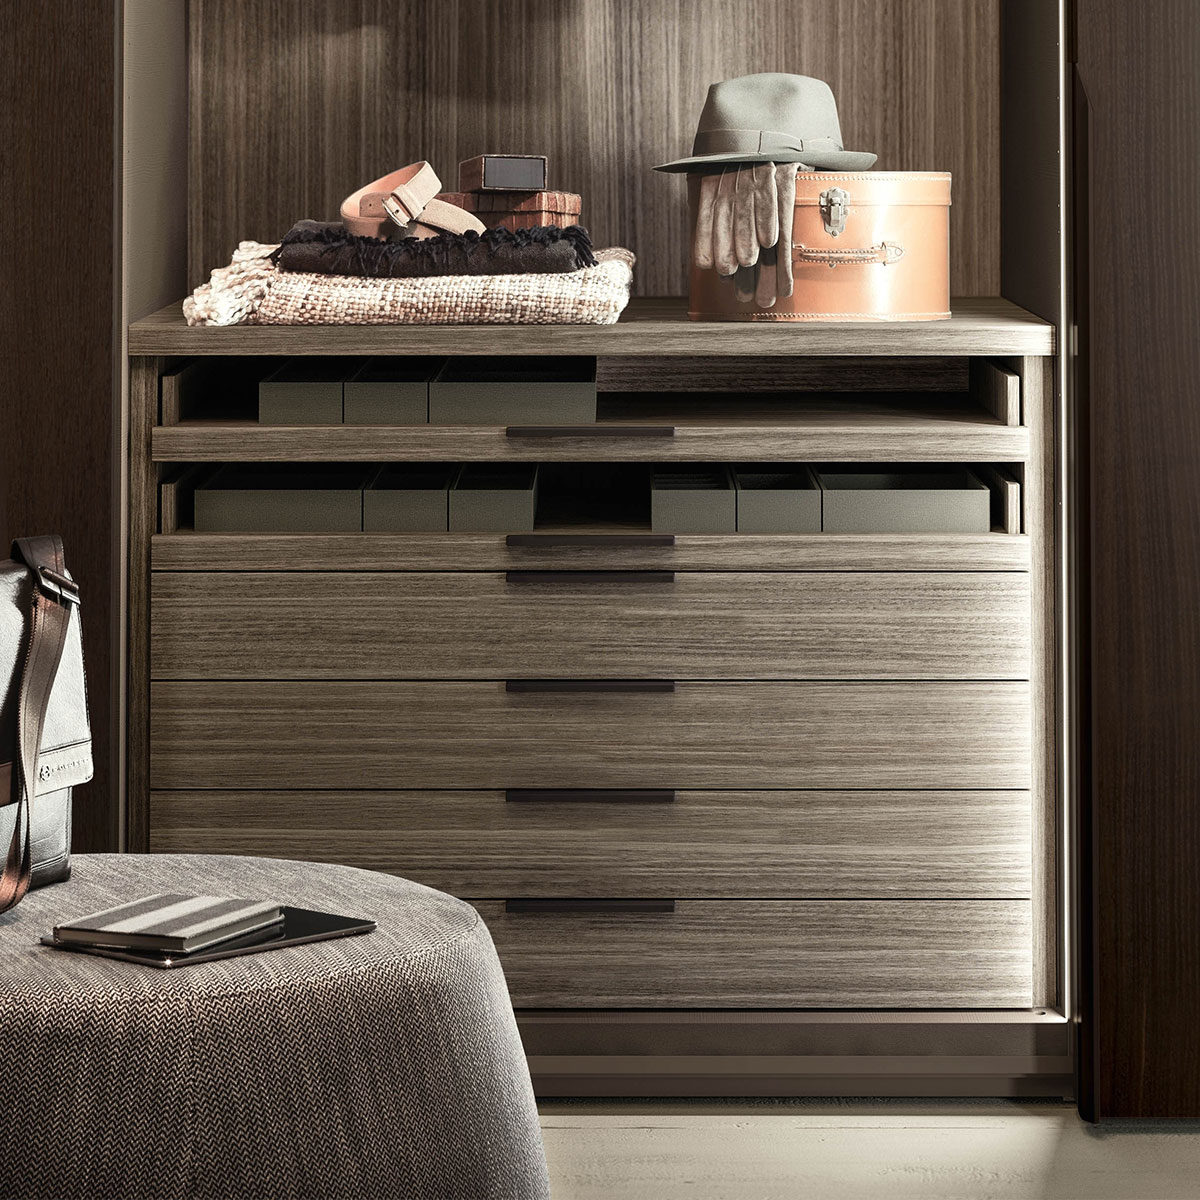
Among the available models, there are sets of drawers which are suspended, sectional, with matching facades, with contrasting facades, or with glass facades (the clear drawers help you to save time when you are looking for the perfect outfit for your day).
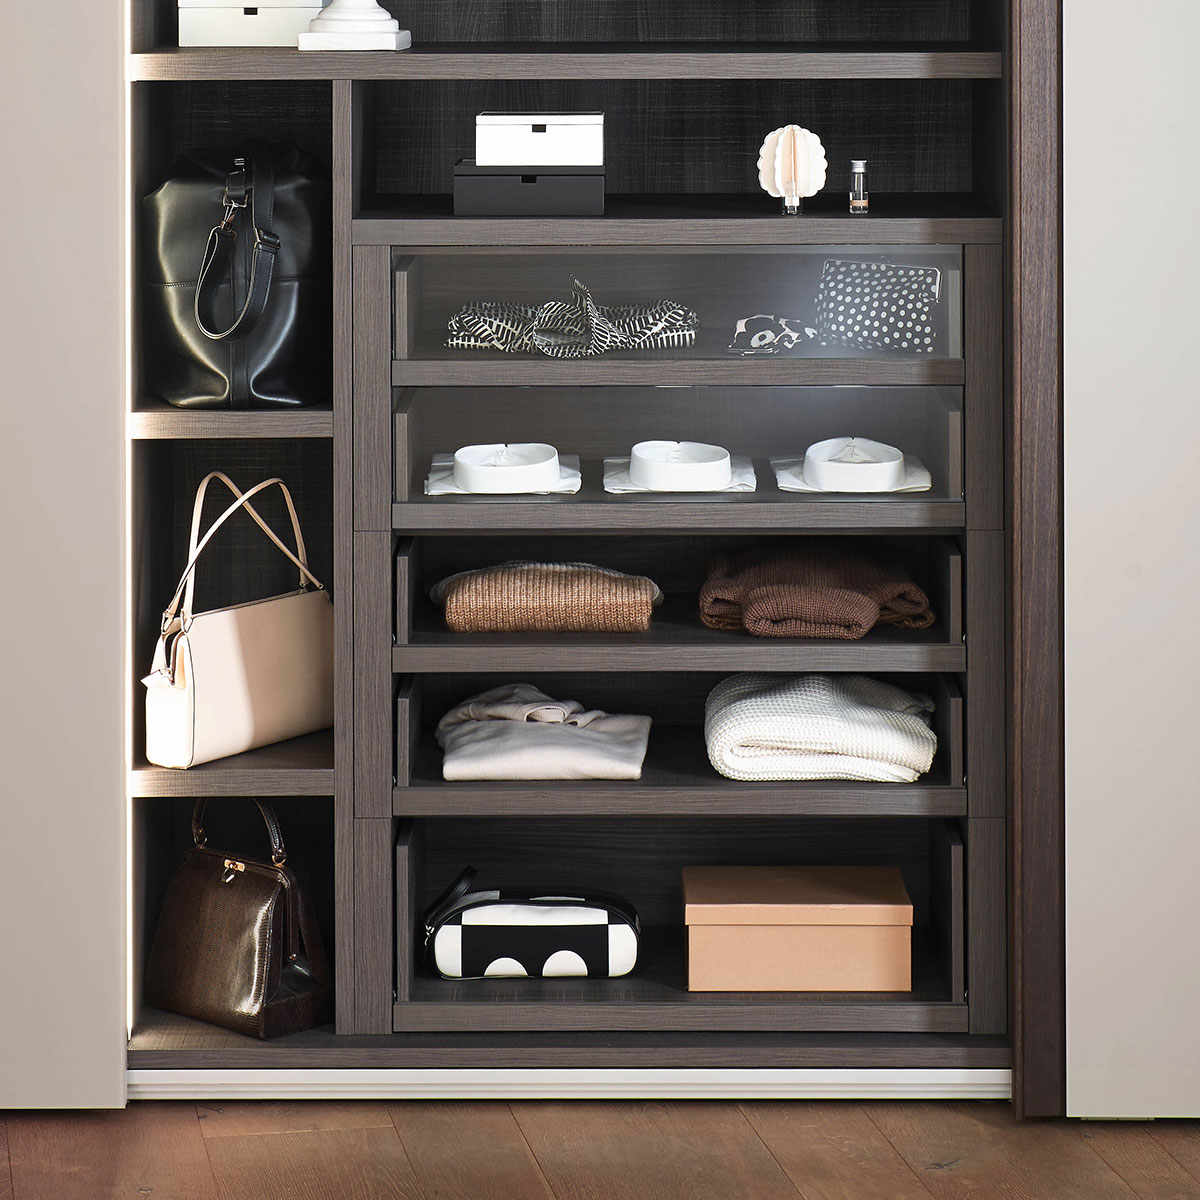
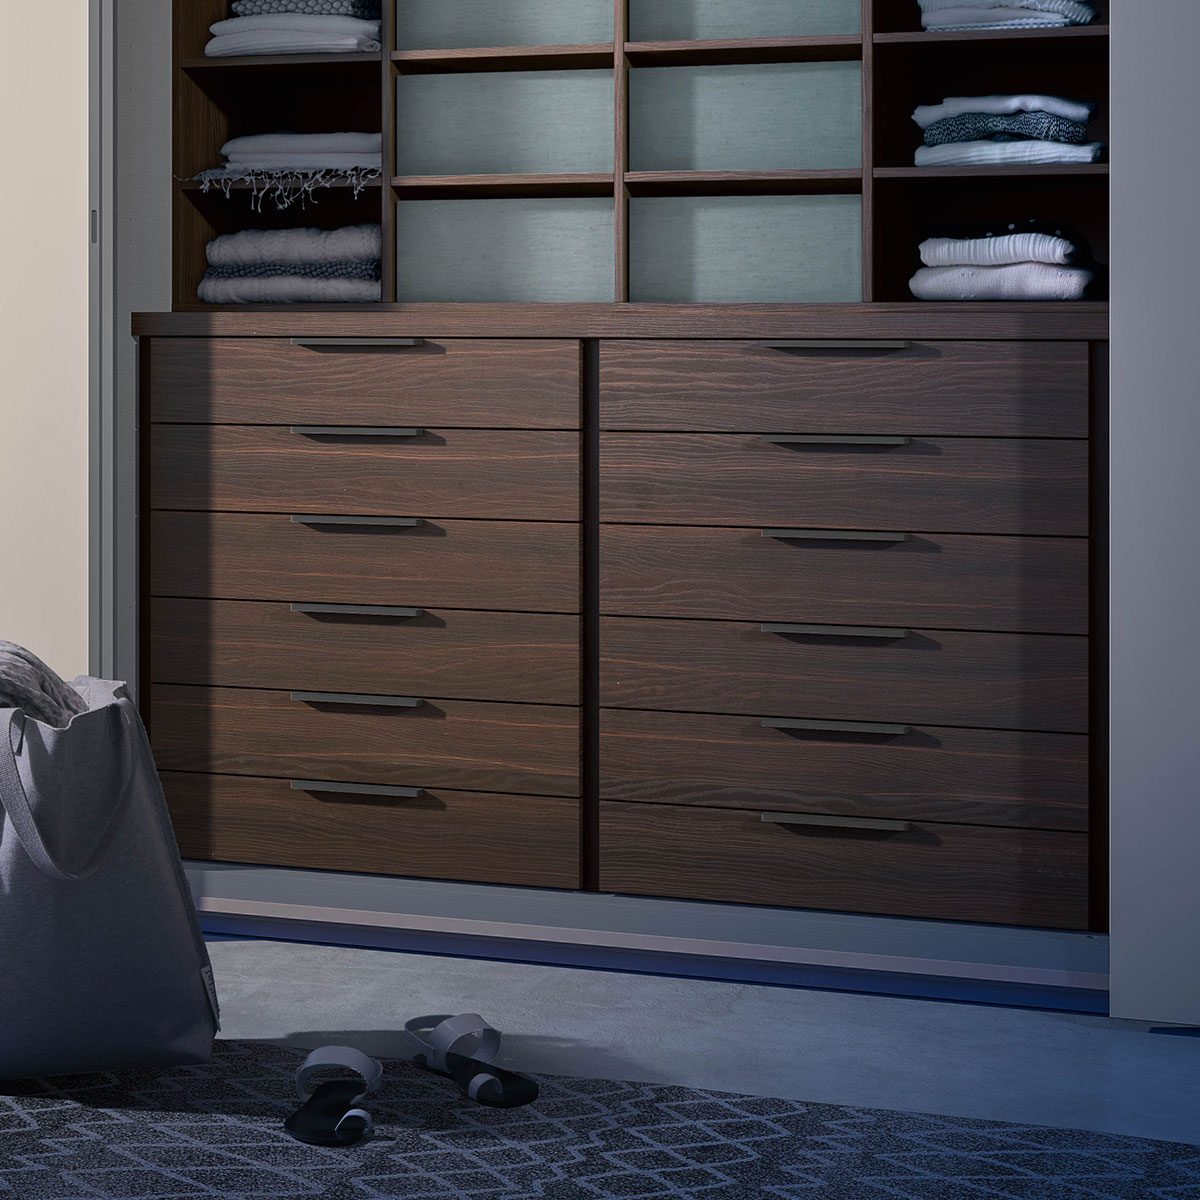
The number of drawers you choose will depend on your personal needs and on the size of the wardrobe. We start from a minimum of 2 drawers, all the way up to certain sliding-door units which can accommodate up to 12 drawers. For internal organisation, we recommend keeping clothes which you use everyday in the upper part of the wardrobe, leaving clothes or accessories which you use less frequently in the lower part (swimming costumes or, in summer, scarves and hats).
Scomparti porta camicie
An integrated organiser for shirts and jumpers is a great idea for anyone who regularly wears suits or pantsuits, or for anyone who has a lot of tops (blouses, shirts etc.). A setup with plenty of divided compartments allows you to distinguish immediately between different types of shirts, categorised by style, colour, collar type. This makes the process of getting dressed much quicker and more organised.
Scarpiera
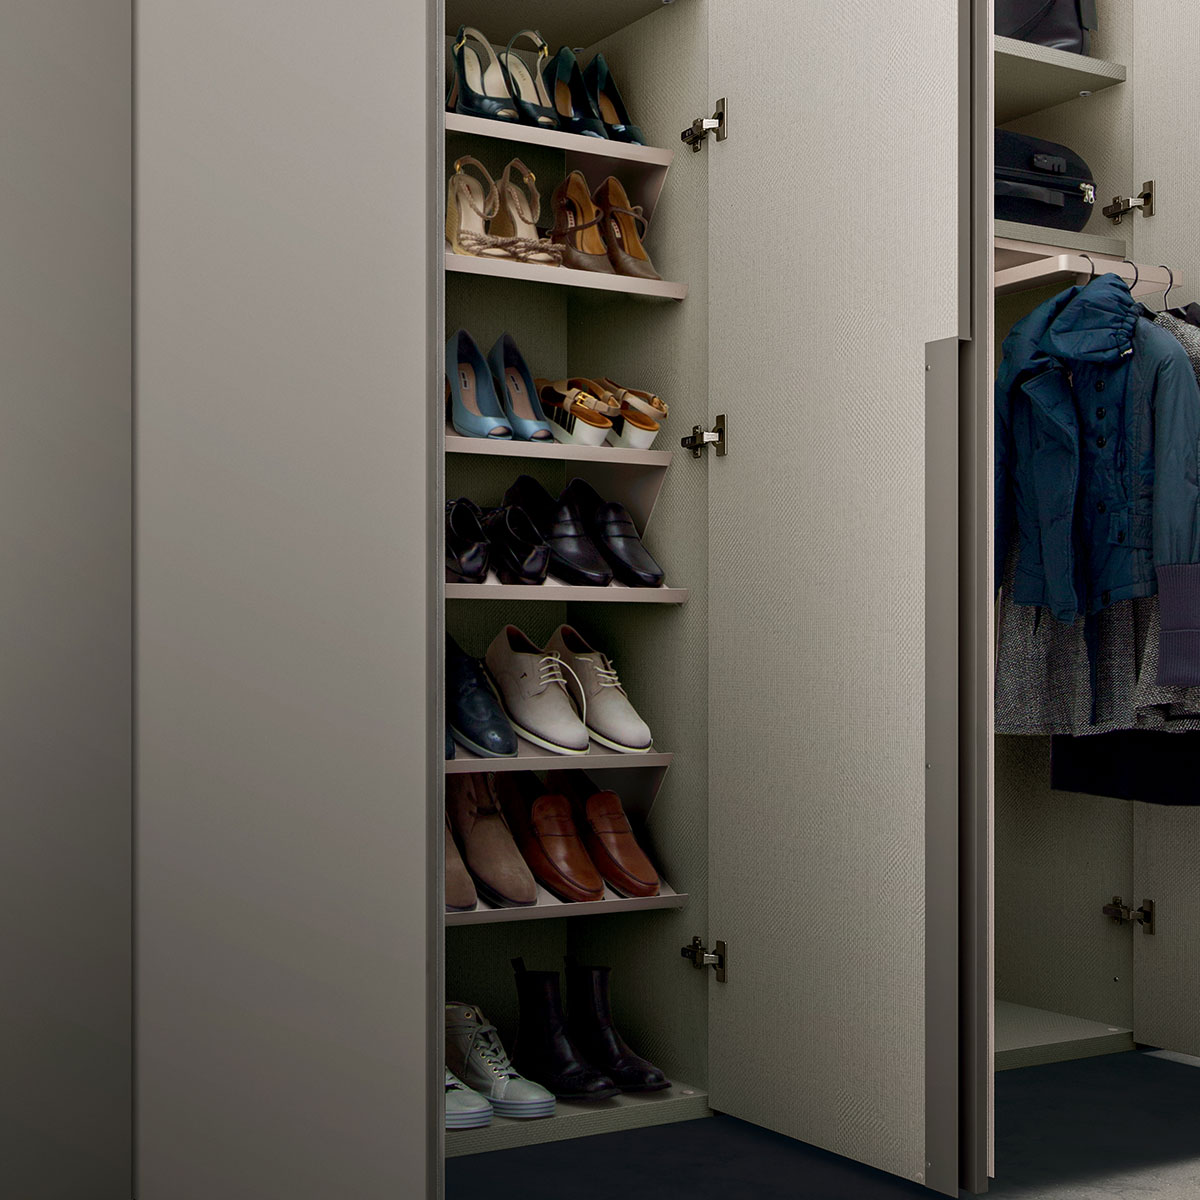
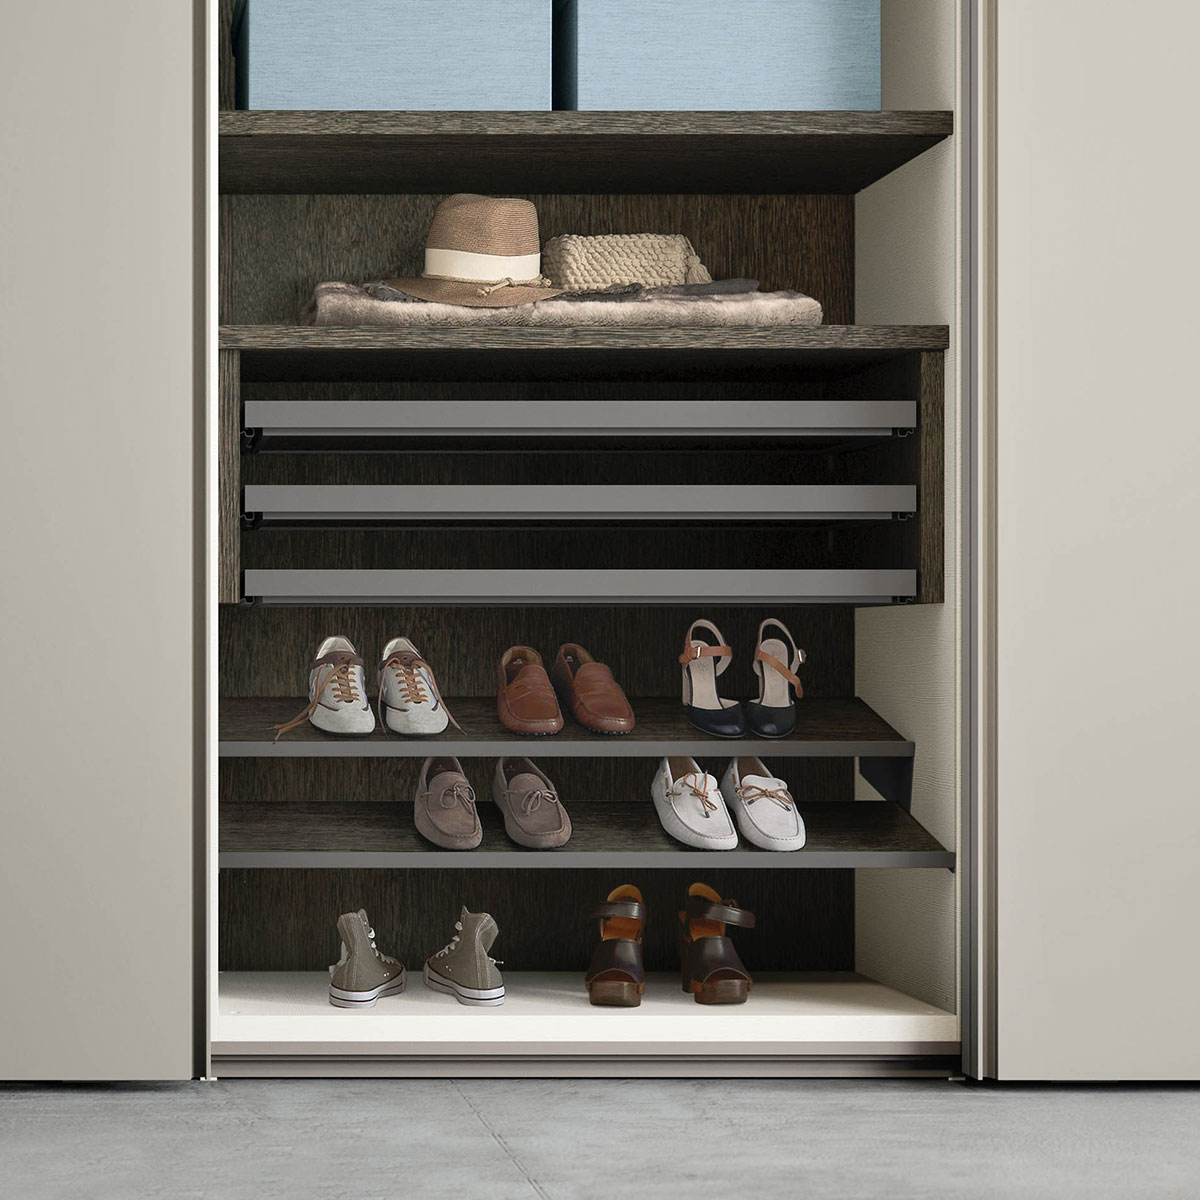
For obvious reasons, we advise separating your shoes from your clothes. So, consider dedicating an entire space to your footwear: this could be a single column or a more spacious compartment which could be dedicated entirely or in half to your shoes (in the other half you could store bags, suitcases or sport equipment). The internal accessories can consist either of simple shelves or special racks with tilted shelving.
A third option is to put the shoes in the lower part of a wardrobe dedicated to clothes. In this case, we advise you to create a clear divide between the two areas, for example with a suspended set of drawers.
Pull-out drawers and accessories
Small Storage Drawers
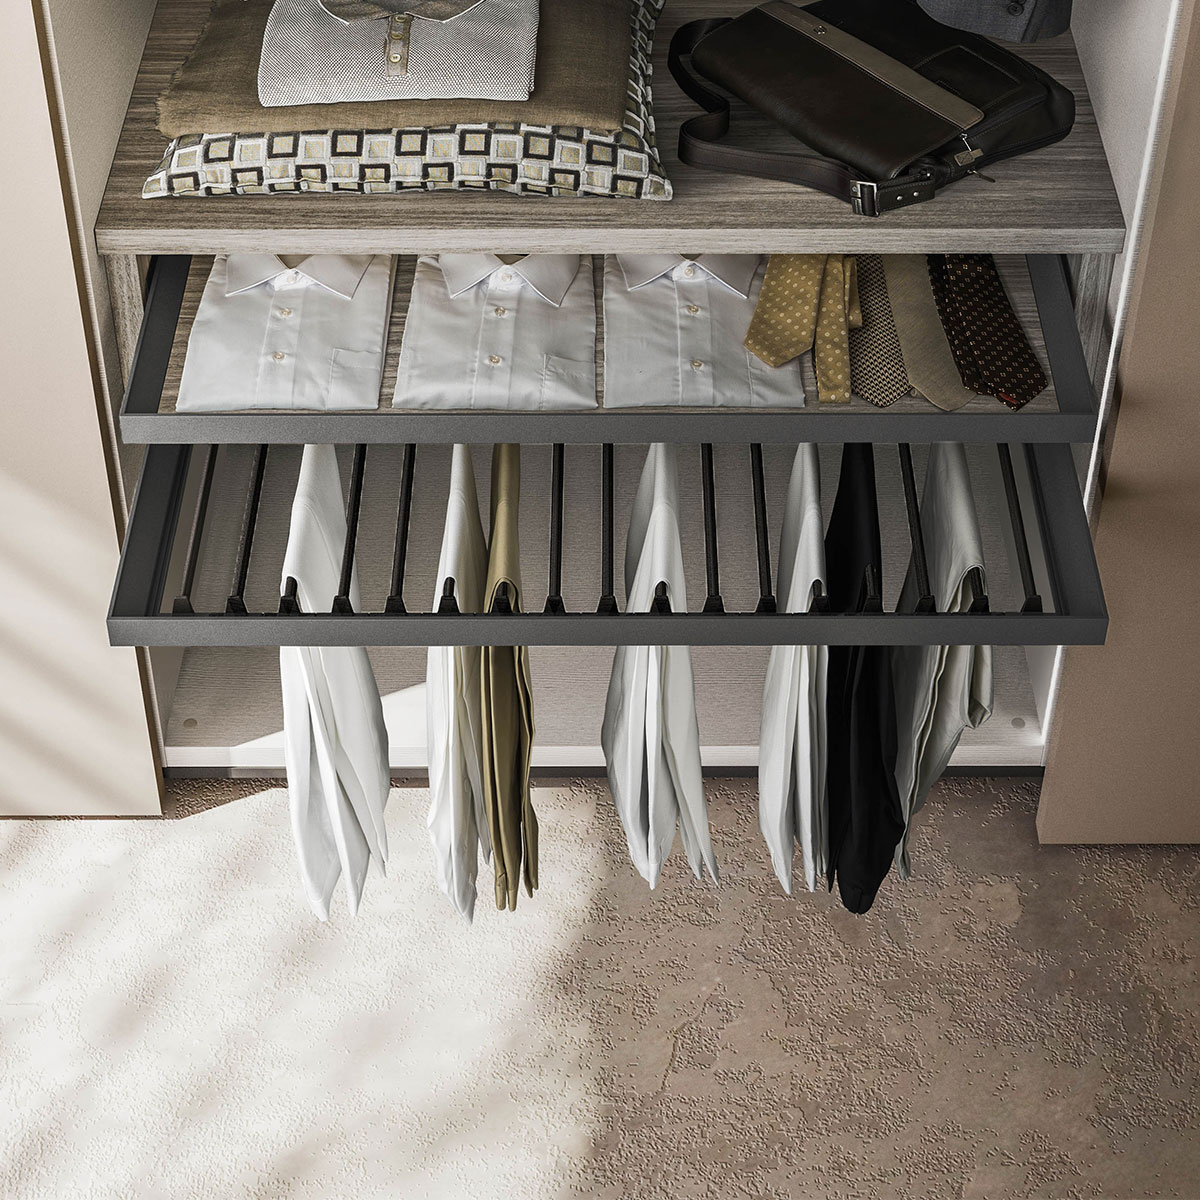
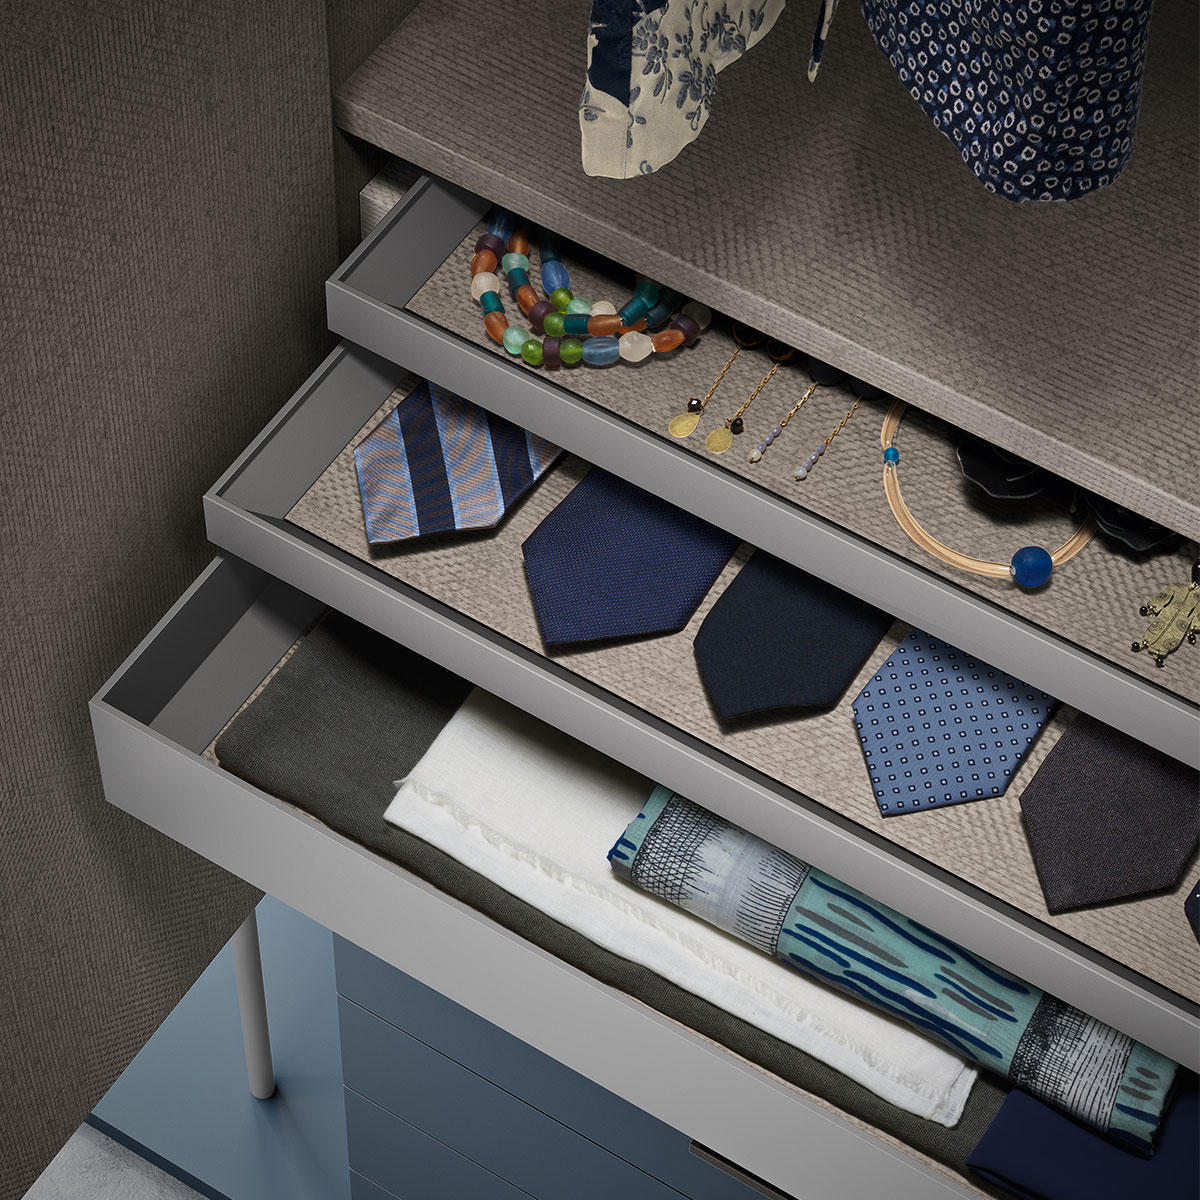
Single pull-out trays for storing scarves, jewellery boxes, ties, belts, and small bottles of perfume.
Trouser Rack
This pull-out accessory allows you to hang trousers or jeans in a very organised fashion. It is very useful for keeping your trousers folded and always having them to hand.
Pull-down Clothes Rail
Also called “the elevator of the wardrobe”, this is a power-assisted mechanism which lowers the clothes rail positioned at the top of the wardrobe.
Internal Mirrors
These can be extractable or positioned on the back of a closet door. If applied to both doors, they provide a 360° view.
Lights
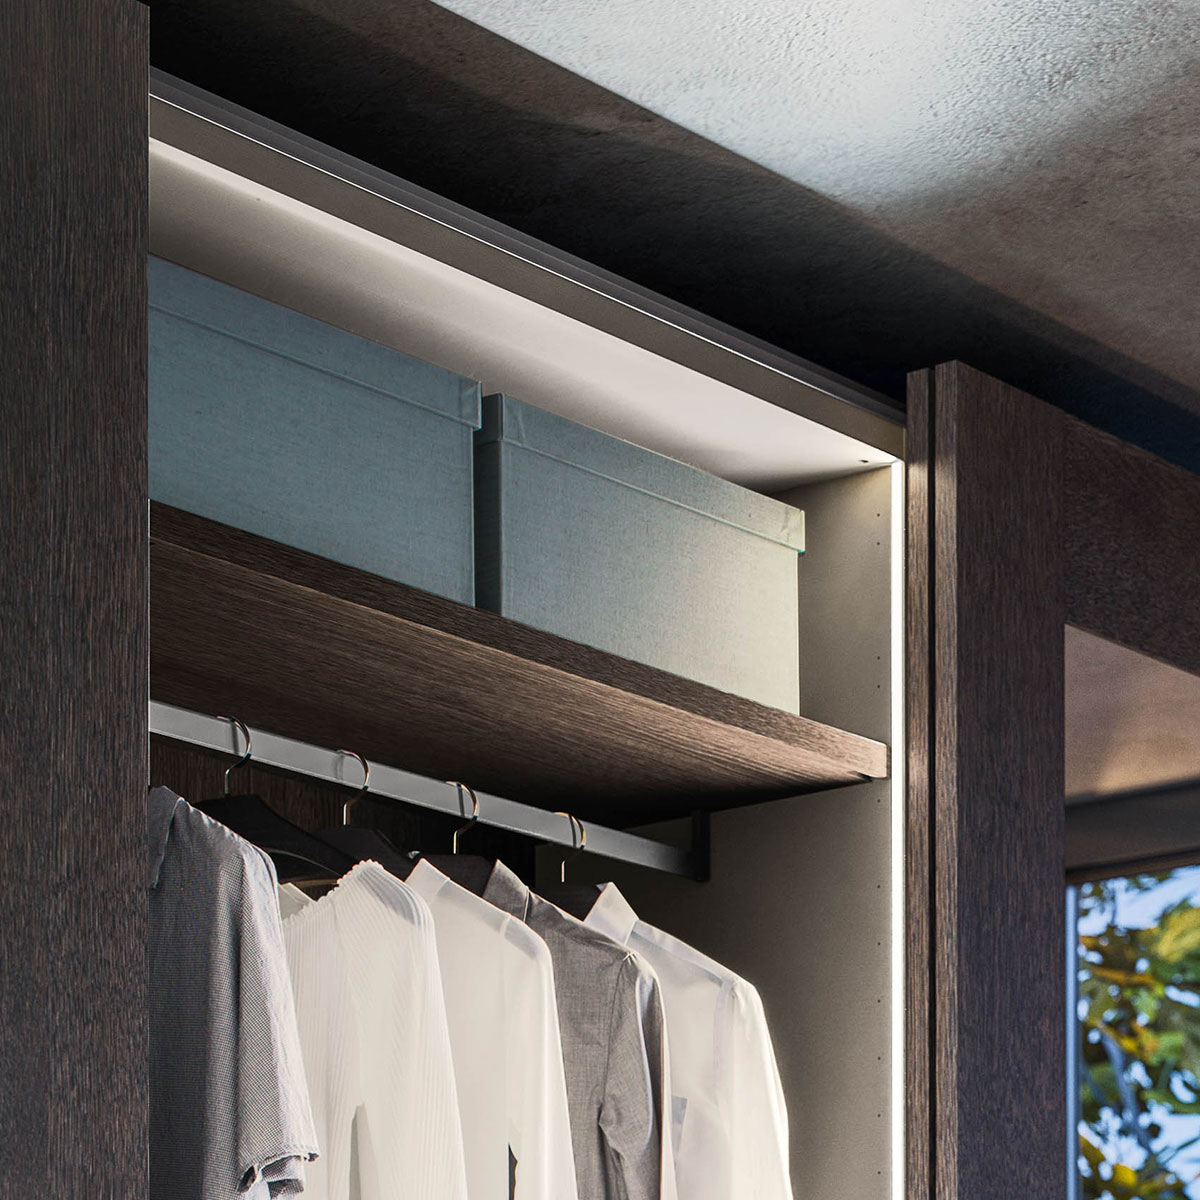
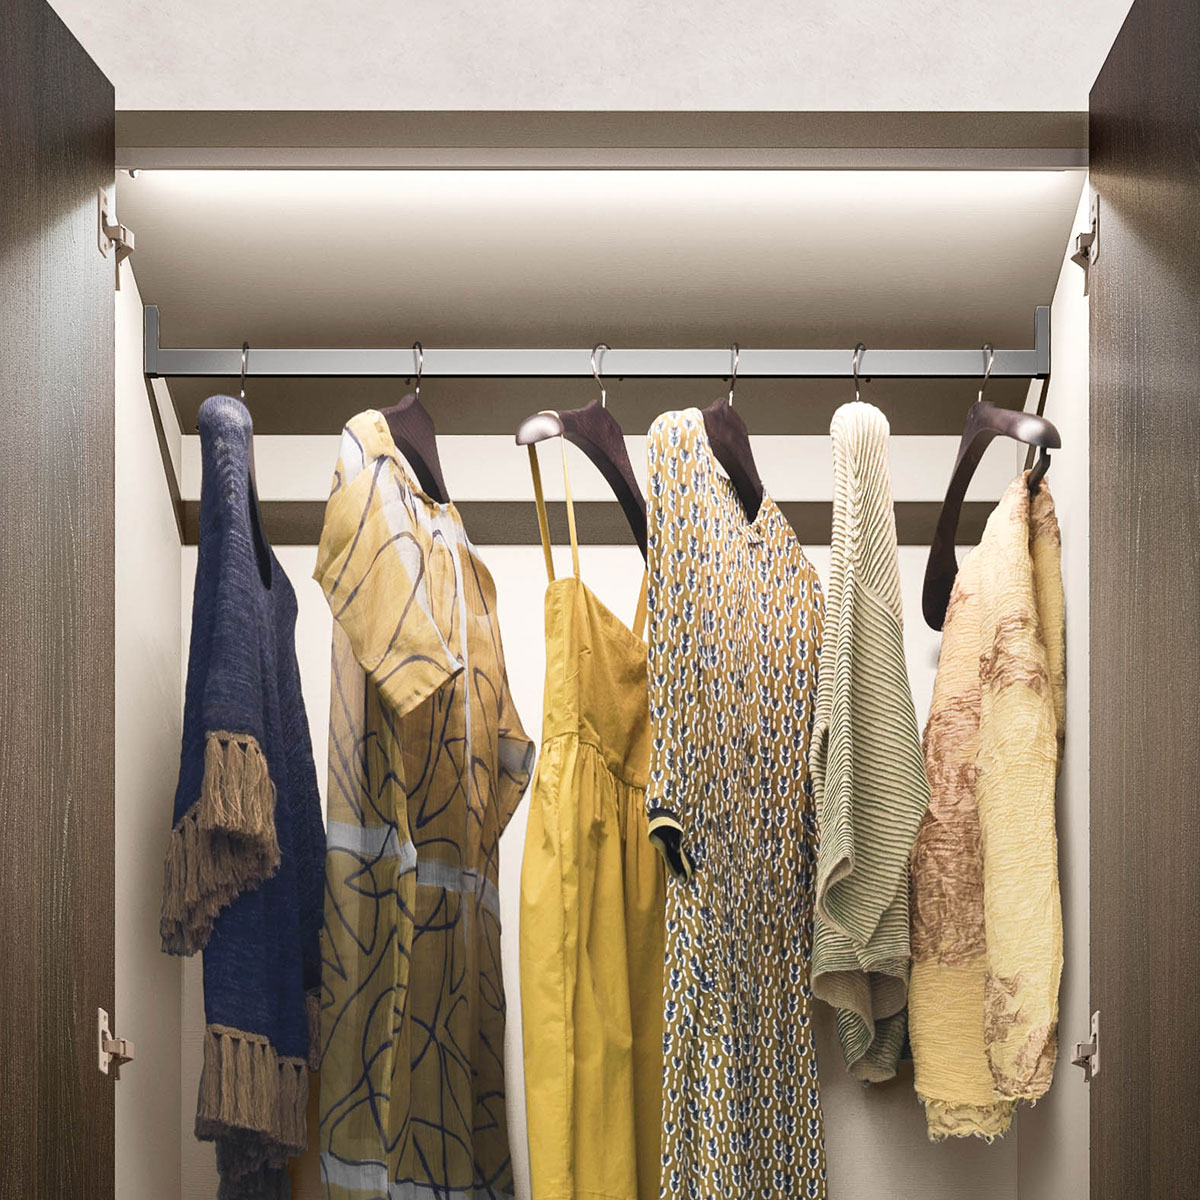
The lighting can be applied to the top panel of the wardrobe, or alternatively the LED strip lighting can be integrated into the sides of the vertical panels. This second option allows you to illuminate a bigger portion of the wardrobe.
Configuration Examples
The best layout for a wardrobe for two people
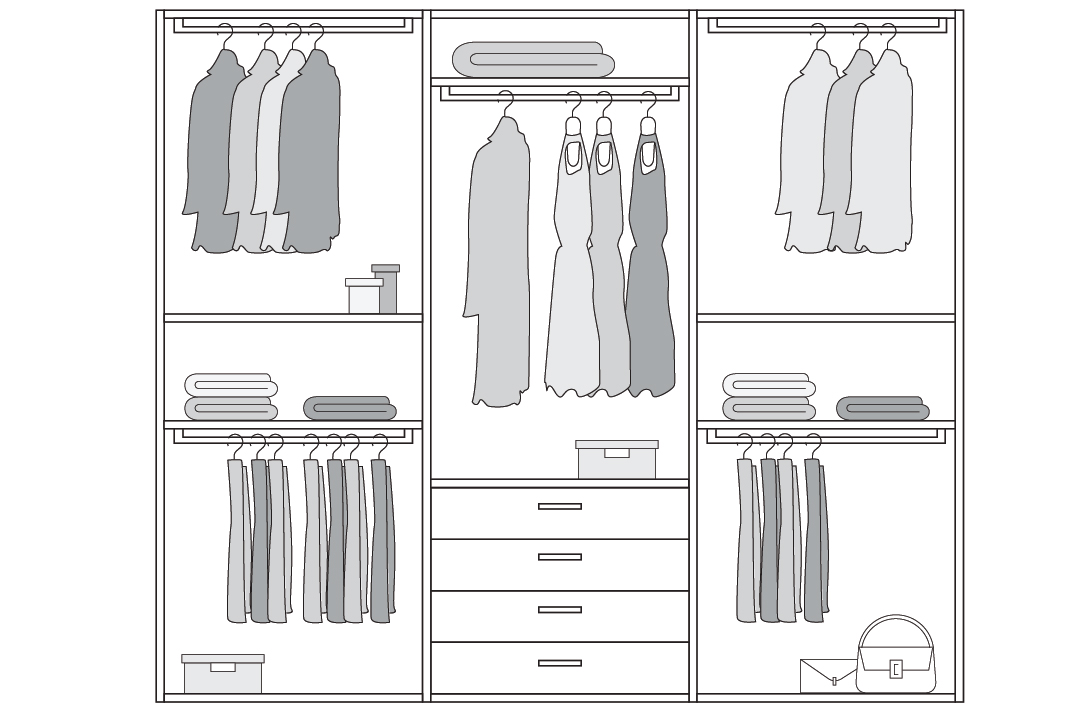
Let’s take a wardrobe with three compartments (6 hinged doors or 3 sliding doors) which is between 255 - 260 cm in height.
There are no fixed rules, but we’re going to look at an example of a configuration which, over the years, has proven to be extremely effective for all needs.
Let’s also remember that a basic setup includes one central shelf and two clothes rails for each internal space.
The 1st and 3rd columns: in addition to the previously-mentioned basic accessories, we add 1 middle shelf. The result is:
● a lower storage surface (boxes, bags, suitcases, shoes)
● 2 open compartments (one lower and one upper one) for hanging ‘medium-sized’ clothes: shirts, blouses, short dresses, skirts, trousers, cardigans, jackets, leather jackets
● 2 shelves: tops, t-shirts, jumpers
2nd central column: we add a set of drawers and move the standard shelf to the top of the wardrobe. From top to bottom, we then have:
● a set of 4 drawers: which can divided for underwear, scarves, cravats, swimming costumes, ties, belts
● a storage surface: boxes, knitwear, t-shirts
● an open section for hanging longer clothes: dresses, trench coats, rain coats, overcoats, suits
● upper storage surface: boxes, linen, bags, luggage
This way, we obtain a clever and practical setup by simply adding just 2 shelves and 1 set of drawers to the basic equipment which is already included in the price of the wardrobe.
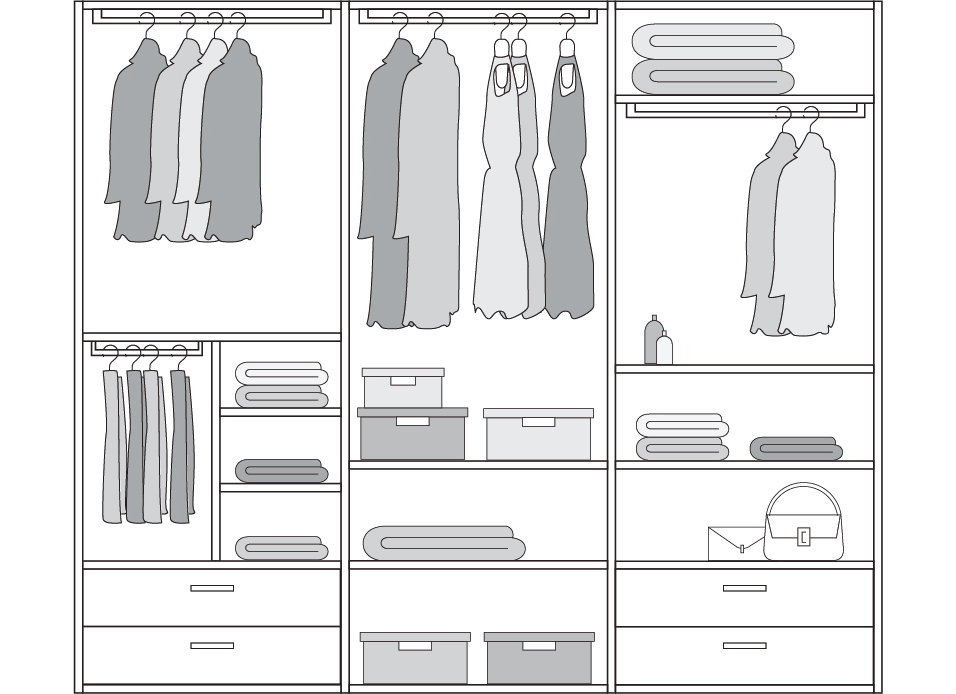
Alternative 1 - Layout with 2 sets of two drawers
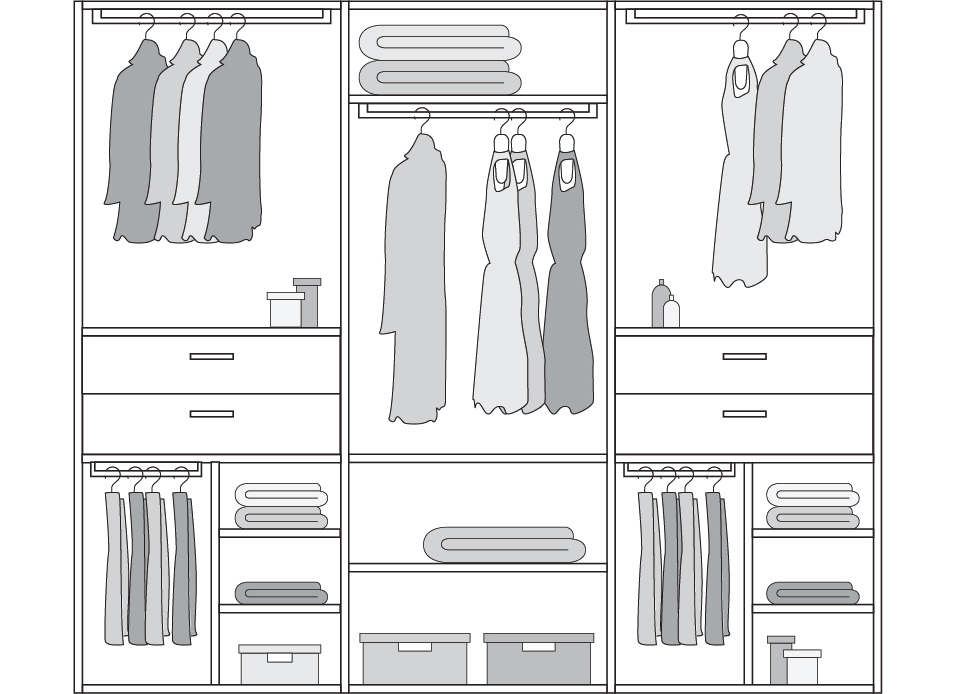
Alternative 2 - Layout with dividers and suspended drawers
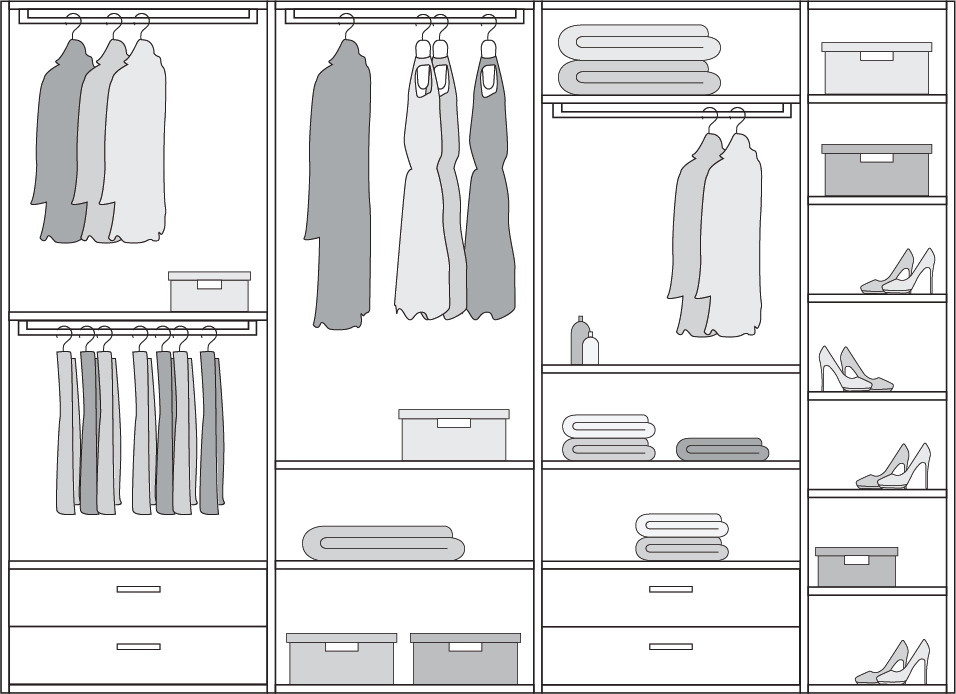
Alternative 3 - Layout with open compartment for shoes on the right-hand side
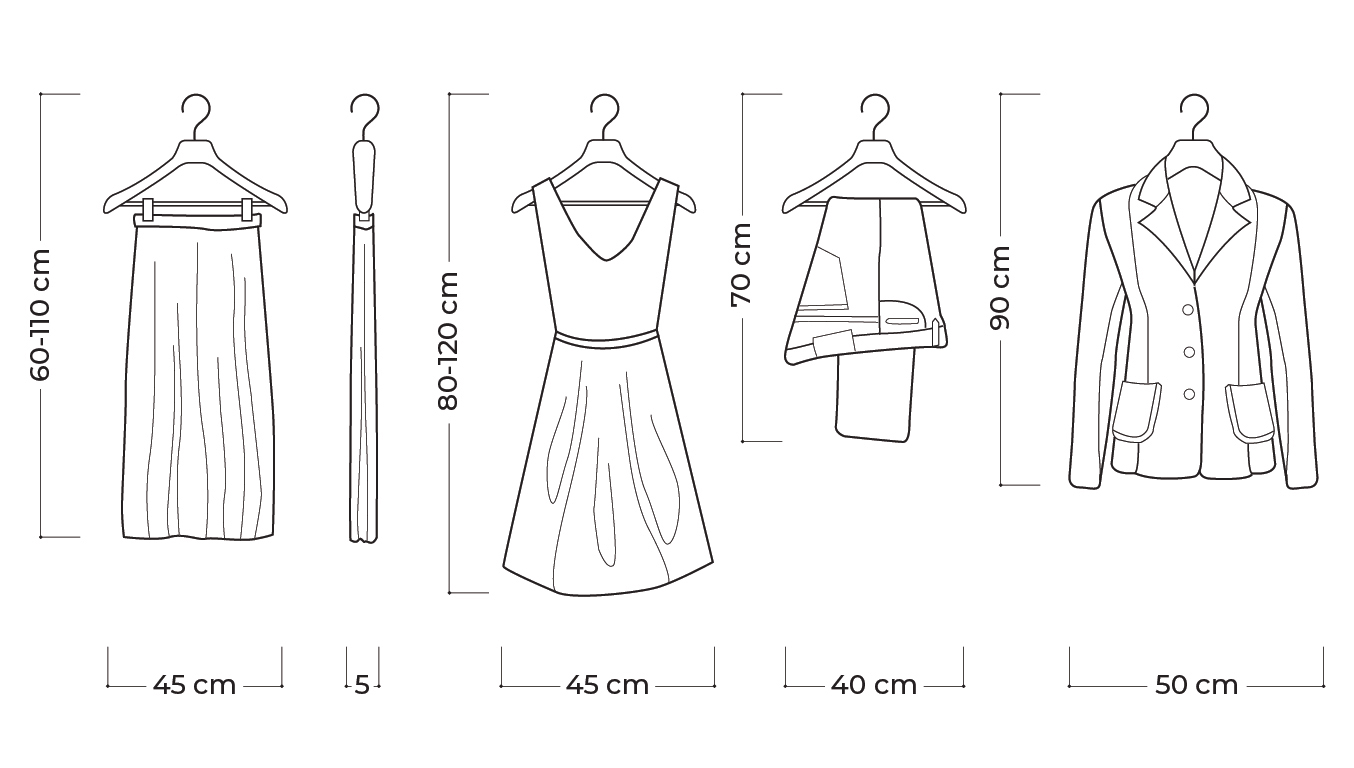
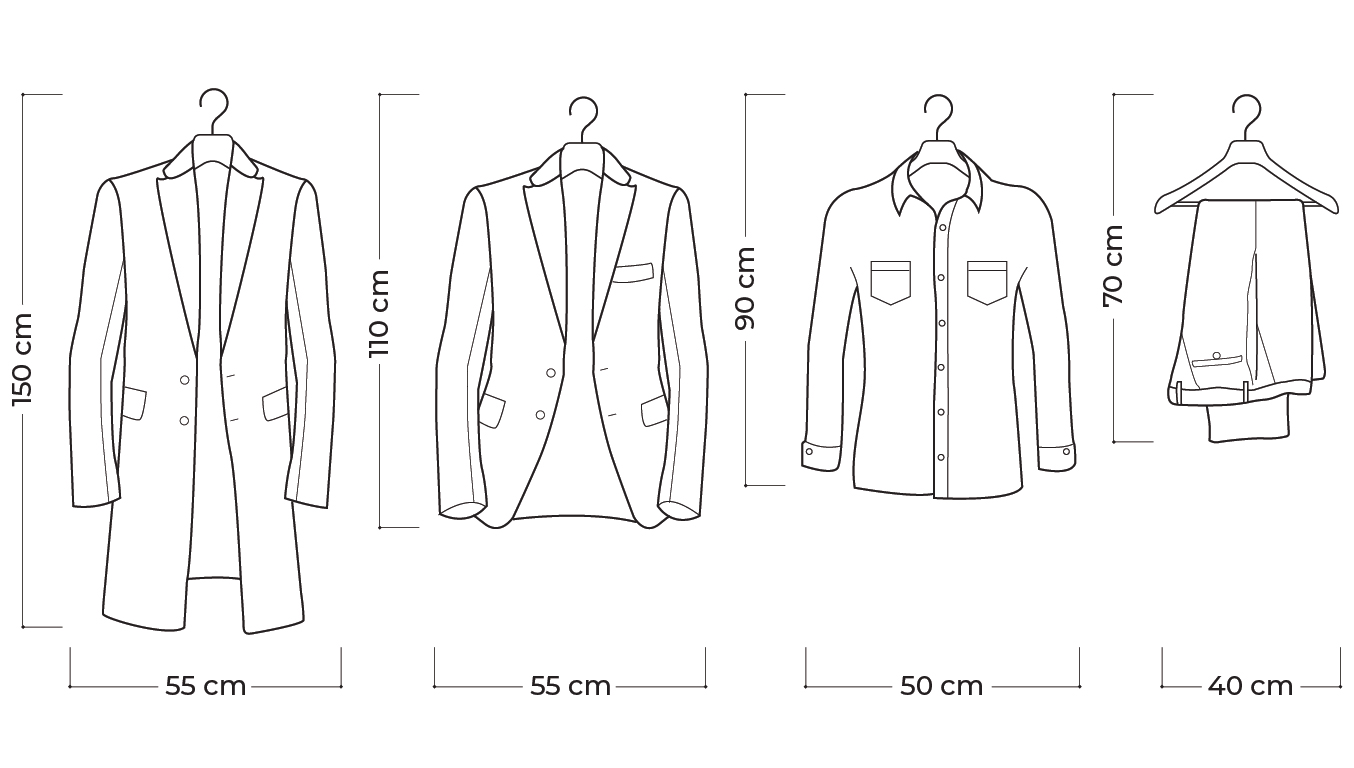
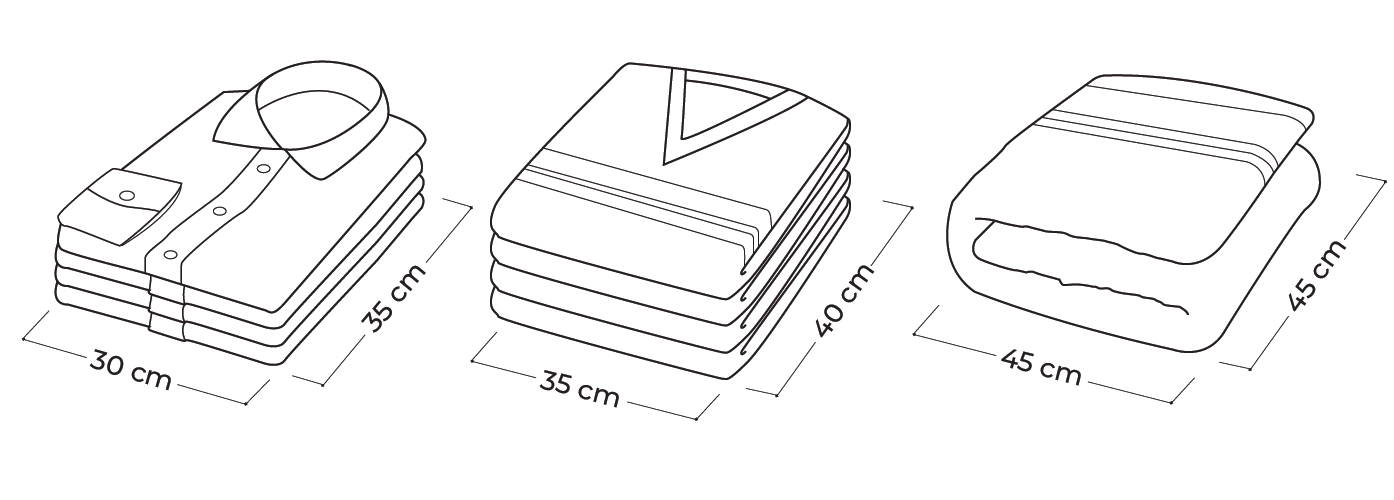
How much space do clothes and shoes take up
